Some of the links in this post may contain affiliate links for your convenience. As an Amazon Associate, I may earn a small commission from qualifying purchases without any increase in price to you.
Most foods from the grocery store are packaged in containers not meant for long-term storage. If your plan is to build an food storage pantry for emergencies, though, you need to know which foods you should repackage so they stay nutritious and full of flavor for many years. This guide tells you which foods to repack for long-term storage.

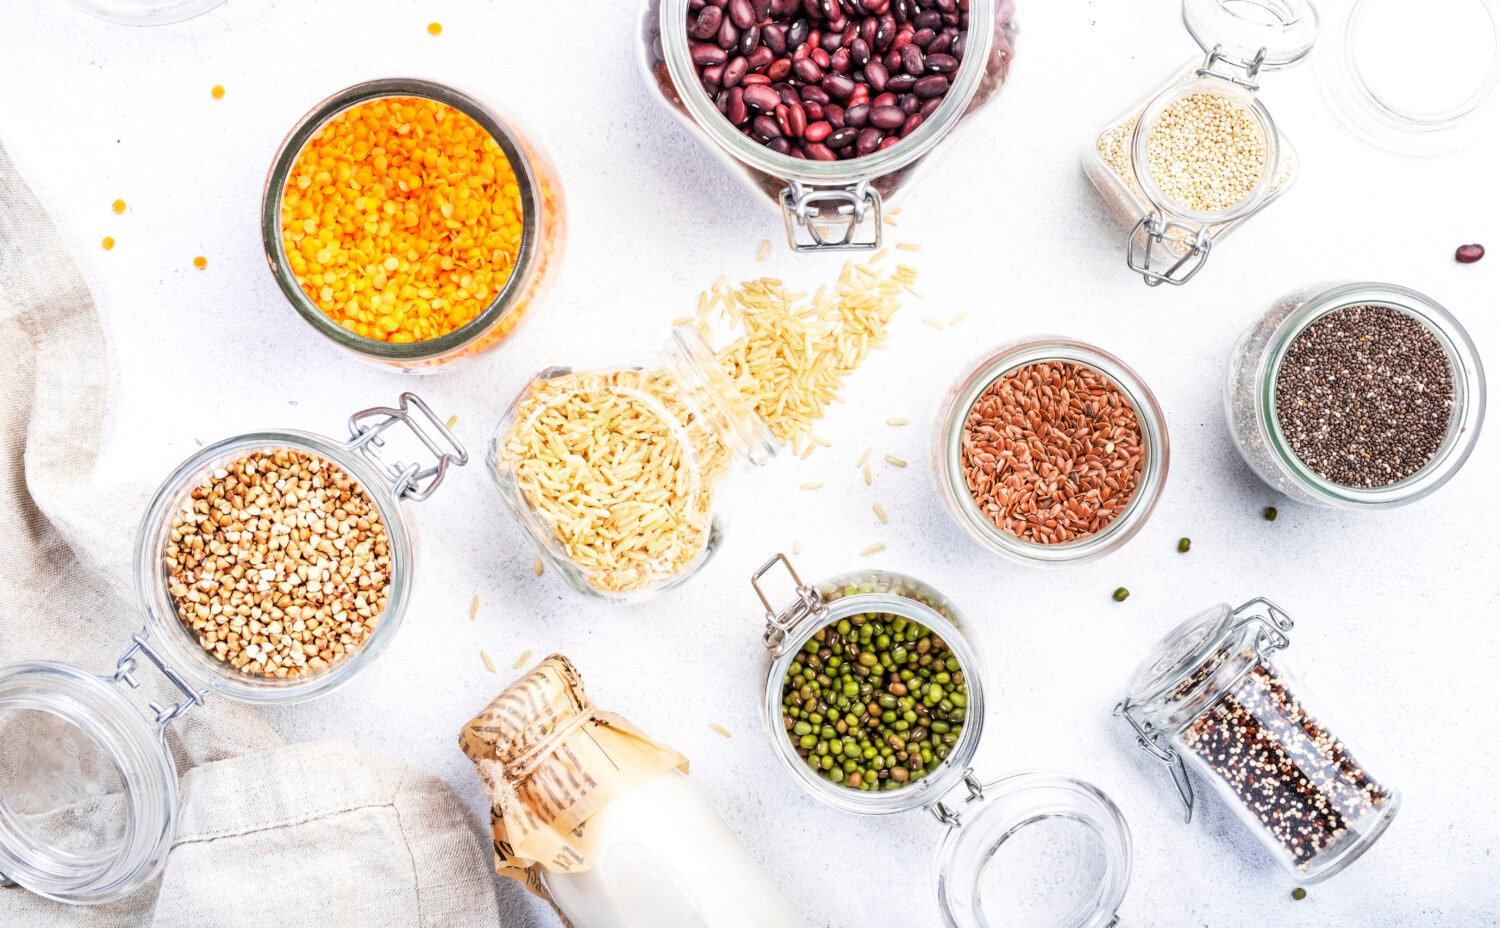
When building an emergency food pantry, you want to invest in food that will last. Flimsy packaging like plastic bags and cardboard boxes can’t withstand humidity, pests, and other threats that can spoil food and destroy its flavor and nutrients. Repackaging these foods into airtight containers extends their shelf life and ensures they’ll be safe to eat even years later.
It takes some time and know-how to repackage the foods listed in this article, but once you’re finished, you can rest easy knowing that food is going to be there, flavorful and safe to eat, many years from now. Read this comparison of several different containers to help you find the best one for your repackaging needs.
Here’s what you need to know about repackaging food. Click To Tweet
Foods That Need Repackaging
Here’s a list of commonly purchased foods that come in packaging unsuitable for long-term storage.
- Raisins and other dried fruit
- Oatmeal
- Breakfast cereals
- Any type of cookie or cracker — These contain oils that quickly become rancid at room temperature.
- Beans
- Rice
- Pasta
- Bread crumbs
- Cornmeal
- Candy
- Pancake mix (Sometimes these are packaged directly inside the cardboard box without any type of inner plastic bag.)
- Pasta, rice, and potato convenience mixes, such as Rice-a-Roni, Pasta-Roni, instant potatoes, scalloped potato mixes, etc. (These may either have microscopic insect eggs inside the package already and/or be invaded by insects and rodents from the outside.)
- Soups and soup mixes in plastic sleeves, such as Manischewitz brand
- Tea bags (Repackage for best flavor and longest possible shelf life.)
- Dried, instant milk (if not already in a sealed can.)
- Spices and herbs in plastic bags
- Shortening (Pack it into canning jars and then seal using a vacuum sealer.)
- Chocolate chips, baking chips of any flavor
- Nuts
- Popcorn
- Pretzels
- Sugar, brown sugar, and powdered sugar
- Baking mixes (bread, cornbread, pizza dough, etc.)
- Most anything else that in flimsy plastic bags or cardboard.
Repackaging Methods
There are several methods for repackaging food for long-term storage:
Vacuum Sealing
Vacuum sealers (like FoodSaver) is my own preferred method for repackaging small to moderate amounts of food. The best foods to vacuum seal for long term storage are sturdy and given to easily crushing, crumbling, or cracking.
However, for crushable foods or those that don’t vacuum seal well, use canning jars with a jar sealer attachment on your vacuum sealer. Canning jars are also a good option for smaller quantities or if you can’t lift heavy buckets. Sharp-edged foods like pasta can puncture bags; double-bag them or use a zip-loc bag for the first layer.
The process of vacuum sealing removes most of the oxygen that exists inside the bag. This prolongs the shelf life of those foods. However, over time I’ve found that air can and does leak into the sealed bags. When storing these vacuum-sealed bags, do check on them at least once a year to see if any have refilled with air. If so, open the bag and reseal.
If you are buying one, read this post for a few tips that will help you select the best vacuum sealer for your needs. They’re really a good investment since you can use them to vacuum seal non-food items, too!
Canning Jars
As mentioned above, canning jars are great for storing smaller amounts of food by using the jar sealer attachment with your vacuum sealer. However, instead of a full-size vacuum sealer, a handheld unit is another option. They’re small and easy to use. I tuck mine neatly in a corner of the cupboard. This way, it’s always within easy reach, unlike my giant FoodSaver that’s buried behind the food processor and some cookbooks in a lower cabinet. Having things close by makes them so much more likely to get used, don’t you think?
Food-Safe Plastic Buckets
Food storage buckets are great for bulk quantities! The plastic protects food and keeps light out. While rodents might gnaw in eventually (hopefully your pantry is pest-proof!), the bigger issue is weight – filled buckets are heavy! I can’t easily lift one of these when it’s filled with food; dragging it along the ground is about all I can manage.
And, once the bucket is opened, you’ll have to plan on using the food inside within a reasonable amount of time, say 6 months or so if storage conditions are optimal, or reseal the bucket. To address this, repackage food into smaller, manageable portions with mylar bags and oxygen absorbers before storing them in the buckets. For opened buckets, I recommend using Gamma Seal lids for easy access and to keep out pests.
I’ve written about storing food in buckets with more details here.
Mylar Bags
As mentioned above, mylar bags are another very good storage container option. The advantages of mylar is that they don’t break like glass jars, come in various sizes, and take up less space than buckets.
2-liter soda bottles
I’ve also used and recommend clean 2-liter soda bottles for storing your repackaged food. Things like popcorn, rice, small beans, and wheat berries do very well in these containers, and if you or anyone in your family drink soda, the bottles are free! Just wash them out really well and allow them to thoroughly dry.
Expert Tips
- Minimize contaminants: When repackaging or handling food that will be stored for possibly a long time, wash your hands, keep your work area clean, and make sure all utensils and supplies have been washed — sterilized, if possible. You don’t want to introduce any type of contaminant into a food container.
- Approach this task as batch work. Instead of getting out all your supplies for only a couple bags of rice, have an area set aside for foods-to-be-repackaged as you buy them, and then do it all at once. For example, if you have 15 bags of rice, 4 boxes of raisins, 8 bags of almonds, and 4 boxes of pancake mix — figure how many containers you’re going to use, how many oxygen absorbers (if you’ll be using them). Then, in factory-like fashion, set up an assembly line and start working. If you have kids, this is the perfect task for them, with some instruction and supervision.
Extending Shelf Life with Oxygen Absorbers
Pour your food into a canning jar, mylar bag or a food-safe bucket of an appropriate size. Just before sealing with the lid, drop in oxygen absorbers according to this chart:
| 100 cc absorber | 32-ounce canning jar or 2-liter soda bottle |
| 300 cc | #10 can |
| 300 cc | 1 gallon container |
| 1500 cc | 5 gallon container |
For more detailed instructions, read this. Oxygen absorbers are available on Amazon, from food storage retail stores, and I’ve even seen them in Winco grocery stores.
Keep mind that as you open the package of absorbers, they immediately begin to absorb oxygen. You’ll know this is happening because they get hot. Before you open the package of absorbers, know how many you’re going to need. Quickly place the required number of absorbers in each container with the food and then store the remaining absorbers in a canning jar. (The lid of a canning jar gives a much tighter seal than other jars.)
Important Note on Dry Pack Canning
Dry pack canning, or oven canning, where you heat dry food in jars and sealing them, might seem like a budget-friendly option. To be very clear, dry/oven canning is not the same as traditional canning, which uses a water bath or pressure canner. It’s simply heating up dry foods in canning jars and then closing them with seals and lids.
Disadvantages
Since this article was first posted, I received a number of questions about dry canning, sometimes called oven canning. At first, the method sounded like an inexpensive way to repackage dry foods but with after quite a bit of research, I haven’t found any true advantages. It seems like the only advantages to this process is that it possibly kills insect eggs with the heat. It also doesn’t require the expense of a Food Saver. However, it has drawbacks.
- Less effective insect egg killer: A much better way to insure insect eggs are killed is by placing tightly sealed containers of food in the freezer for at least a week.
- Doesn’t remove oxygen: Heating these jars in the oven does not remove oxygen, which is a necessary step in prolonging shelf life.
- Light exposure: Storing any food in glass jars continues to allow the food to be affected by light, which also deteriorates food. (Store filled glass jars in boxes, under beds, and in any container that doesn’t allow in light for the longest possible shelf life.)
- Risk of breakage: Canning jars are designed to be heated in wet environments, such as a hot water bath, and not in a dry oven. While canning jars are made from tempered glass, which is designed to break into hundreds of fairly harmless little particles, not shards, it’s best to use canning jars for their original purpose only.
How dangerous is dry/oven canning?
If only dry foods, such as flour or oats are involved, I’d say the risk of a glass jar exploding in the oven is very slight. Bacterial growth in such foods is negligible as long as no moisture is present. Some nutrients will be lost due to the application of heat, but dangerous? In my many hours of research, I’m not convinced it is. However, there doesn’t seem to be any reason to use this method, either! All it seems to do is heat up the food and maybe kill insect eggs, but little else.
The previous repackaging methods I’ve listed are far easier and more effective in lengthening the shelf life of food, which is the main point of this activity in the first place!
FAQ
That mostly depends on the quantities you’ll be storing in each container and your plans for using the food. For example, if you are storing food only for one or two people, canning jars are best as long as breakage o earthquakes aren’t a concern. If you have a large family and know that once you open a bucket of oatmeal, for example, you’ll use it on a regular basis until it’s gone, then buckets are best!
Don’t over-think this! Keep it simple. Start with the containers easiest for you and get going! You’ll soon figure out how to best customize the process so it’s best for you and your family.
These can be stored long-term if your dehydrating process ensures the food has been thoroughly dried, and you use smaller sized containers. Canning jars and smaller mylar bags are ideal.
Dehydrated food is very susceptible to humidity and exposure to light will deteriorate not only the appearance of the food but its nutrients as well. Once your dehydrated food is packaged in an airtight container, store it in a dark, dry location. This article provides more detail about best storage conditions.
Home-dehydrated foods you package will have a shorter shelf life than food commercially dehydrated or freeze-dried. This isn’t a bad thing! Just use what you’ve dehydrated within a couple of years.
No, you don’t. In the typical home/kitchen, the temperature and humidity are at acceptable levels for everyday, shorter-term storage.
Related Long-Term Food Storage Content
Next Steps
Would you like more help putting together your emergency food storage? I created a FREE ebook to help you build a balanced pantry to help you do that! In it I share more simple tips and explanations to help you create an emergency food supply that will provide nutritious and simple meals in an emergency. Get that free build a balanced pantry ebook here.
Final Thought
If you’re building your long-term food storage, you need to realize that most grocery store items aren’t meant to last a long time in their original packaging. To keep them fresh and nutritious for years, you’ll want to repackage certain foods.
Do you have any tips for repackaging food? What type of container works best for you?
Originally published Septmeber 26, 2016; this article has been updated.


