SHTFPreparedness may collect a share of sales or other compensation from the links on this page.
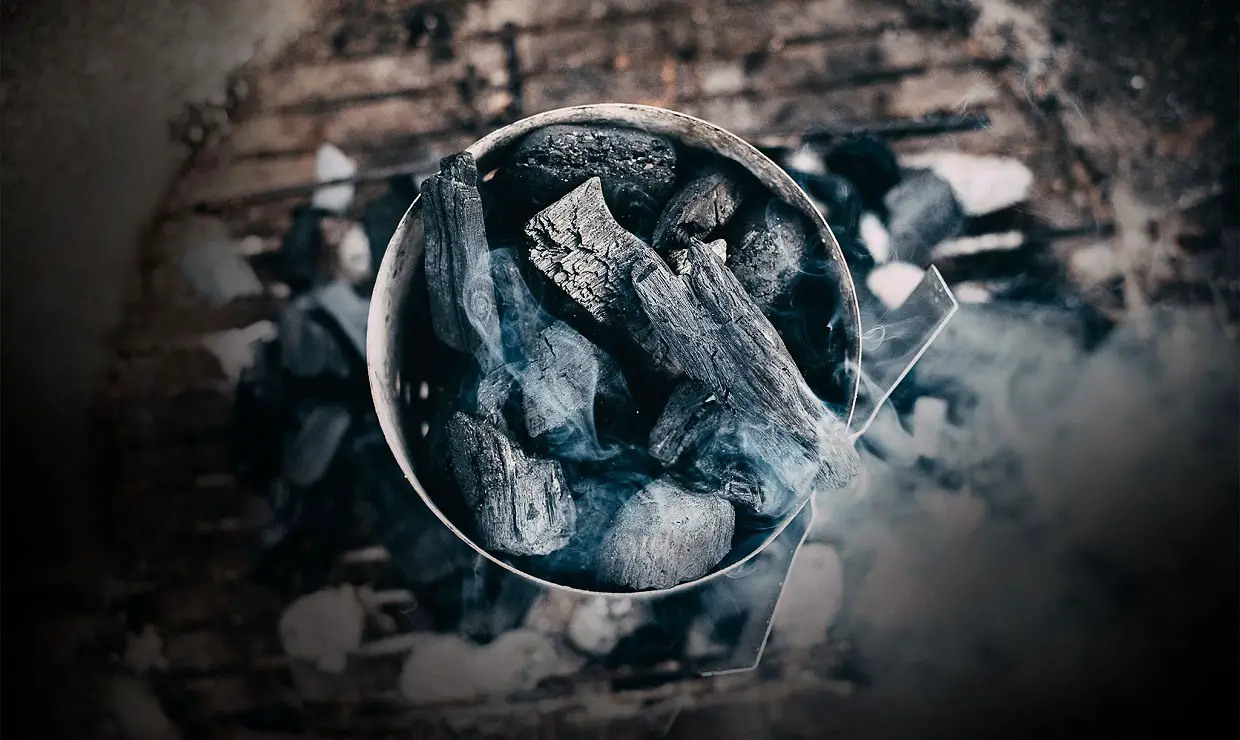
Charcoal is a versatile and widely used material. It has been a source of fuel for centuries. People have used it for everything from grilling to heating homes to air filtration.
However, the prices of commercial coal have become too high. Many people cannot afford this valuable resource. Fortunately, you don’t have to rely on expensive charcoal! You can learn how to make charcoal DIY.
Do you know how to get charcoal? The idea is to heat wood in the absence of oxygen. It breaks down the material into a highly concentrated form of carbon.
It is a process you may know as pyrolysis. This process results in a material that burns hotter and longer than normal wood. It makes it an ideal fuel source for a variety of applications.
This article will explore the benefits of making your own charcoal. We will also provide step-by-step instructions for making charcoal. By the end of this article, you will better understand the charcoal-making process.
You will know all the tools you need to make your charcoal safely and efficiently. Are you ready to take your self-sufficiency to the next level? Then, read on to learn how to make charcoal.
How to Make Charcoal Instruction
Charcoal is a universal source of fuel. Industrial charcoal production is widespread. But making charcoal at home is a cost-effective and sustainable alternative.
Below we will provide a step-by-step guide on how to make charcoal at home. Of course, we include tips and tricks for the best results.
The process involves a few simple steps. Follow these simple steps. And you will be able to create your own high-quality charcoal. You will be able to use it for all your needs.
Step 1. Gather Your Materials
The first step in how to make charcoal is to gather materials. Fortunately, you don’t need any specialized equipment or hard-to-find materials to get started. Here are the materials you’ll need:
- Wood. Naturally, this is the first and main product from which you will make charcoal. You can use any untreated wood, such as hardwood, softwood, or twigs and branches. Just make sure it’s dry and free of dirt and debris.
- Metal container. You’ll need a metal container with a tight-fitting lid that’s large enough to hold your wood. A steel drum or metal trash can works well.
- Drill. You’ll need a drill to make a hole in the lid of your metal container.
- Make a fire. You can use any type of fire starter, such as newspaper, kindling, or lighter fluid, to get your fire going. Just don’t forget about safety.
- Water. You’ll need a bucket or other container of water to quench your charcoal once it’s done.
Once you’ve gathered your materials, you’re ready to move on to the next step.
Step 2. Find a Flat Open Space and Dig a Pit
Now that you have your materials, it’s time to find a flat and open space to set up your charcoal-making pit. This way, you can be ideally prepared to make your own charcoal.
Ideally, this should be a place away from buildings and flammable materials. It is best to find a place outside. This way, you will ensure good ventilation and will not breathe smoke.
Once you find a suitable place, you must dig a hole. Dig a hole at least 1-2 feet deep and wide enough to accommodate the metal container. You should line the hole with rocks or bricks. This way, you can insulate it and prevent heat leakage.
Make sure that you place your metal barrel flat and stable. Then place the metal container in the center of the pit. Then fill the container with firewood, stacking it tightly.
Be sure to leave some space on top so the lid will fit tightly. Now it’s time to move on to the next step in how to get charcoal.
Step 3. Prepare Your Wood and Light the Fire
Before you start the question of how to make charcoal, you need to prepare the wood. Start by cutting the wood into small pieces. Make sure that you cut pieces that you can easily fit into a metal container. It’s important to use dry, untreated wood for the best results.
Once you’ve prepared your wood, place it inside the metal container. Pack it tightly and leave some space at the top for the lid to fit snugly. Then drill a small hole in the center of the lid. This way, the gasses can escape during the charcoal cooking process.
Now it’s time to light your fire. You can use any type of fire starter, such as newspaper, kindling, or lighter fluid, to get your fire going. Use a shovel or tongs to add wood to the fire as needed.
You need to keep a close eye on the fire. Make sure the wood inside the metal container heats evenly. At this point, you can move on to the next step of how to get charcoal. You need to be sure to limit the oxygen supply.
Step 4. Limit the Oxygen Supply to Your Fire
Step 4 in making your own charcoal at home is to limit the oxygen supply to your fire. This step is very important. It helps to prevent the wood from burning completely. This way, you can turn wood into charcoal.
To limit the oxygen supply to your fire, you’ll need to place a tight-fitting lid on your metal container once the smoke from the hole in the lid turns clear or white.
It will limit the air supply to your fire. It will cause the wood inside the container to undergo a pyrolysis process. That is, the wood will split. It will turn into concentrated carbon or charcoal.
It is important to note that restricting oxygen to the fire is not the same as extinguishing it completely. You still need to maintain a low but steady heat to allow the wood to transform into charcoal fully.
You can use a shovel or tongs to add more wood to the fire. But be careful not to disturb the container too much. It can cause the release of oxygen and disrupt the charcoal production process.
Step 5. Remove Your Charcoal From the Barrel
The penultimate step in how to make charcoal at home is to remove it from the metal container and extinguish it with water. This step stops the charcoal-making process and prevents the charcoal from burning.
To remove the charcoal from the metal container, use tongs or a shovel to remove the lid carefully. Next, carefully remove the charcoal from the container. It is important to handle charcoal carefully, as it can be brittle and break apart easily.
After taking the charcoal out of the container, place it in a bucket of water to stew. It will create a lot of steam and heat, so be careful not to burn yourself.
After quenching the charcoal, remove it from the water and spread it flat to dry. After it is completely dry, your homemade charcoal is ready to use. You can use it for:
- Grilling
- Smoking
- And any other application that requires charcoal.
Step 6. Repeat the Process and Clean the Barrel
Do you want to know how to make more charcoal? You can repeat the process by filling a metal container with firewood. In doing so, you need to build another fire each time.
You can use the same container several times. But you need to clean it thoroughly between uses. This way, the ash or debris will not interfere with charcoal-making.
Remove any remaining charcoal or ash to clean your metal container, and scrub the inside with a wire brush or steel wool. Rinse it thoroughly with water and let it dry completely before using it again.
By repeating this process and cleaning the metal container between uses, you can continue to make high-quality charcoal at home for all your charcoal needs.
Homemade charcoal is not only economical. It is an environmentally friendly alternative to purchased charcoal. It reduces your carbon footprint and promotes a greener lifestyle.
Is It Good and Why Is It Important?
Making your own charcoal can be a fun and rewarding activity. And fortunately, it has several advantages:
- First, it’s a cost-effective alternative to purchasing charcoal. With the rising cost of charcoal, making your own can save you money in the long run, especially if you enjoy grilling or smoking frequently.
- Second, homemade charcoal is a more environmentally friendly option. Commercial charcoal production often involves cutting down forests. Companies use non-renewable resources. It can harm the environment. Making charcoal from sustainable wood reduces the carbon footprint. It contributes to a greener lifestyle.
- Third, making homemade charcoal can be fun for friends and family. It will be a great way to learn new skills. You will be able to unleash your creativity.
Overall, making homemade charcoal is a simple process that can have many benefits.
It is a cost-effective, environmentally friendly, and fun way to get high-quality charcoal for all your charcoal needs.
Reference articles:


