Start canning potatoes for quick meals, soups, or stews and french fries!
This article will teach you how to can potatoes with beginner friendly step by step instruction A complete guide. You’ll wash and peel first, then blanch, and fill jars and process. Learn about canning for french fries, mashed, fried and more.
How to Can Potatoes Extended Directions and tips
Yield
You can use this recipe to can any amount of potatoes you have. I just start filling jars and doing a batch at a time until I’ve used them all up.
For 7 quart jars you’ll need about 20 pounds.. That is an average of 2.5 to 3 pounds per quart. This will vary according to the size of your potato and how much peeling you do.
Know Your Canner
You will need to know how to use your pressure canner. If you are not familiar with your canner, this pressure canning page has more detailed information and step-by-step instructions on using a pressure canner.
Supplies and Ingredients
Ingredients
- Potatoes – about 20 pounds will do 7 quarts
- Canning salt – optional
Preparing the Potatoes
Wash and peel your potatoes. (Yes, you really must peel them. Check out the tips section below for more on this.) Cut into pieces between 1-2 inch cubes.
You can leave them whole if you are like us and got TONS of teeny tiny spuds in the garden. (my kids call them tater tots). But remember you DO still need to peel them. For this reason I’ve only canned small whole potatoes once. It was too tedious for my patience. Your pieces should not be bigger than 2? diameter.
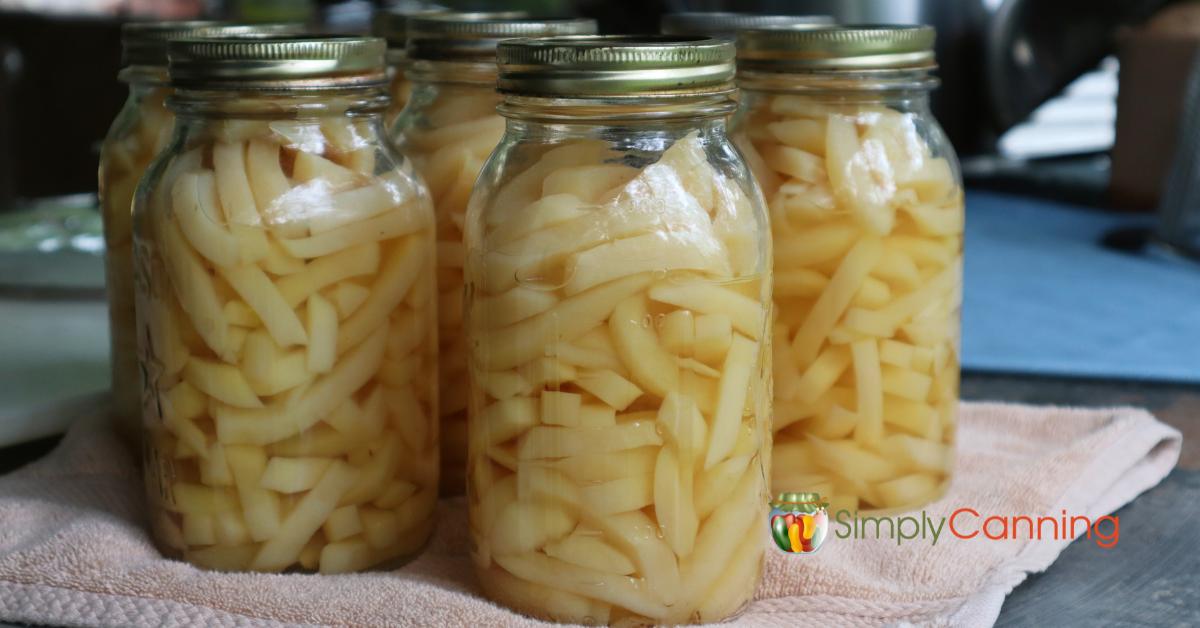
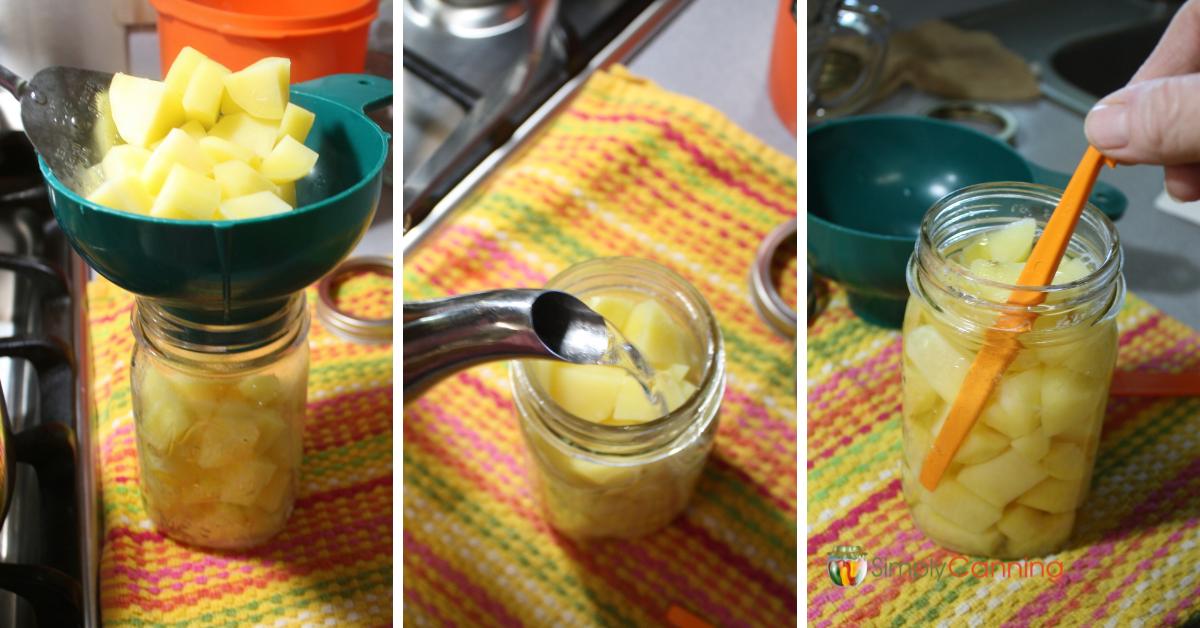
One thing I tried and really loved for both the diverse uses later and the speed of prep work. Try canning french fries! Cutting into this shape worked well for me. My food processor cut a large amount of potatoes quickly.
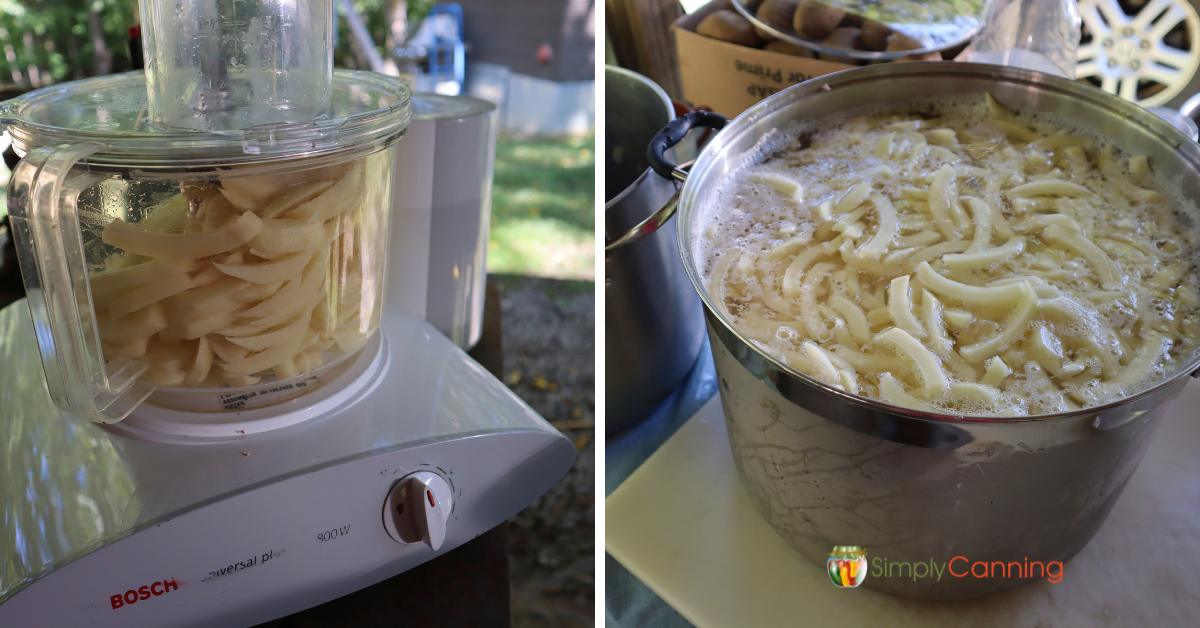
I’ll admit… they are softer than a chunkier style cut. But they fried and baked up nicely as french fries. They also mash really nicely. Drain add a bit of butter and salt to taste, mash with a fork for mashed potatoes. I like chunky, If you like smoother mashed potatoes, you might want to use a whisk or mixer.
As you cut your potatoes, place the pieces in a pot of cold water to avoid discoloring. This will also rinse away some of the starch. When you are done peeling and cutting, drain, and I like to rinse again. The more you rinse the less starchy your jars will be.
Bring a large pot of water to a boil add potatoes and boil. Do this in batches if needed. Cook small, 1/2-inch pieces for just 2 minutes. If you have larger pieces or whole potatoes, boil up to 10 minutes and drain. You want the pieces to be hot through, but not overcooked.
Pressure Canning
Add 1 teaspoon of salt per quart to the jar, if desired. This is optional, though I do recommend it unless you have a health reason to leave the salt out. Salt helps preserve the texture and taste.
Fill jars with hot potatoes, leaving 1-inch headspace.
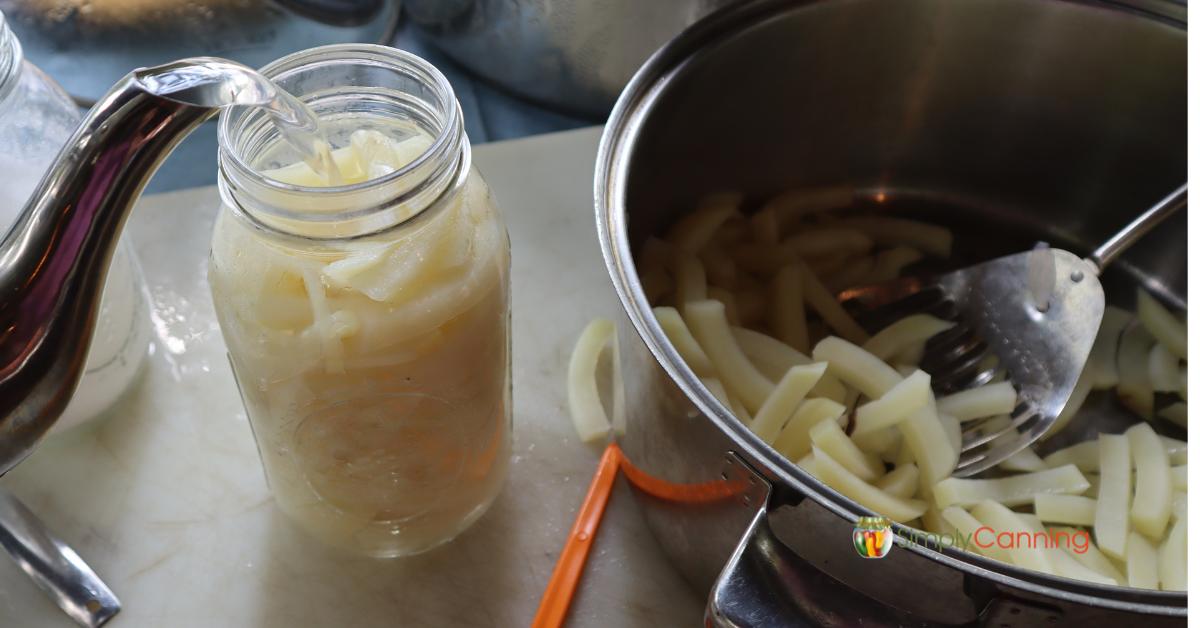
Cover with with FRESH boiling water. Don’t use the water you used to boil the potatoes. It will be starchy and cloudy. More rinsing means less starchy jars. Leave 1-inch headspace and cover all pieces of food.
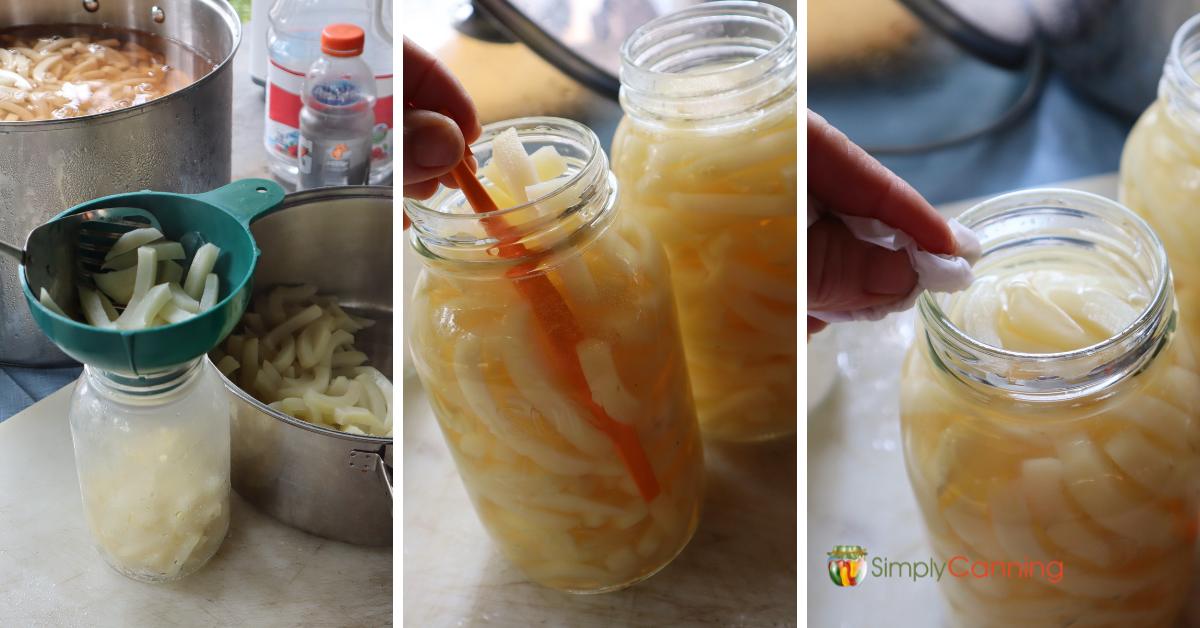
Wipe the rims clean, remove any air bubbles. Check your headspace again and if needed top off with water. Wipe the rims clean and add your lids.
Processing Times
Pints – process for 35 minutes
Quarts – process for 40 minutes
Be sure to use the pressure according to your altitude see the chart below. For more information, see this altitude adjustments page.
Tips & FAQs
Must You Really Peel for Canning?
Canning potatoes with skins on is not recommended Potatoes need to be peeled for canning. It is a safety issue, not just a quality issue. Peels will naturally carry more bacteria that is found in the dirt. Scrub as you like. You’ll still get a cleaner product if you peel.
Yes, you really must peel. The reason is that the spores that can cause issues with botulism are found in the soil. Since the potato grows directly in the soil, there is a higher chance that botulism may be a risk. This is the same with all root crops.
I cook potatoes with the skins on for dinner. But for canning, I’ll go ahead and scrub the well then peel. Then we’ll have fried potato skins for supper.
Can you can small Potatoes with Skin on?
I know small potatoes with the peels looks really nice in the jar especially if you’ve got multi colored skins. But it is simply not a good way to go. You want to be able to eat your pretty jars with confidence.
Peeling small potatoes is tedious and time-consuming! Save the small ones for roasting. I know small potatoes with the peels looks really nice in the jar especially if you’ve got multi colored skins. But it is simply not a good way to go. You want to be able to eat your pretty jars with confidence.
I answered a readers question about this in one of my canning chat series. Check out my answer there too. How to can small multi colored potatoes. (opens in youtube)
Dry Canning Potatoes
Dry canning is definitely not a good idea. I recently noticed this trend of pressure canning food without liquid. This totally changes the process. To keep things safe, it’s better to stick to the tested canning routine with all the proper steps, including adding liquid to your jars. I learned some things about the differences in dry heat vs moist heat that I never knew before. I’ve outlined what I learned in this video. What is Dry Canning?
What About Raw Packing to Get a Better Texture?
If you do a search on YouTube or many canning groups, you may find a canning recipe for canning potatoes raw pack. I do not endorse it. I am all for getting a nice texture in your product but, potatoes have never been tested for canning with the raw pack method.
The way they were tested is from a cooked state. If you pack the potatoes raw, you would have to test from raw. The texture, temperature among other things is different therefore the testing would not apply. I totally understand wanting a better texture, but you are better off working with different types of potatoes to see what will hold up better to the canning process.
Pro and con of canning french fries.
Also note: My french fry potatoes did turn out softer than a chunkier cut. It still worked for me and made good french fries, also was easy to mash for potatoes. But a more square form might suit you better. Just don’t cut them overly big. 2 inch cubes is recommended.
What Potato is Best for Canning?
You can use any potato, but the best potatoes will be lower starch content. Red skinned potatoes works best. (peeled of course) Large, white, baking potatoes are not the best for canning purposes. They tend to be more on the starchy side. Red or Yukon gold potatoes do much better.
How to Reduce Starchiness in Home Canned Potatoes
Rinse, rinse, and rinse again to reduce starchy, cloudy water. You’ll get the first rinse as you cut up your potatoes, drain then bring to a boil to partially cook, and then drain that water and finally add fresh water to your jars; do not use the cooking water. Adding clean, fresh water will reduce the amount of starch in the jars. That high starch content is unappealing but not dangerous.
One thing I noticed with my last batch of potatoes. As the jars set on your shelf… the water gets more starchy with time. This is normal and doesn’t hurt a thing. So don’t be surprised.
Pin This for Later:
Resources: The National Center for Home Food Preservation, Colorado State Extension


