SHTFPreparedness may collect a share of sales or other compensation from the links on this page.
Many preppers make homemade whiskey to enjoy and use for bartering in emergencies.
It also has many other uses, including starting fires and killing bacteria. So, knowing how to make homemade whiskey is another valuable survival skill you should learn.
Recipe For Homemade Whiskey
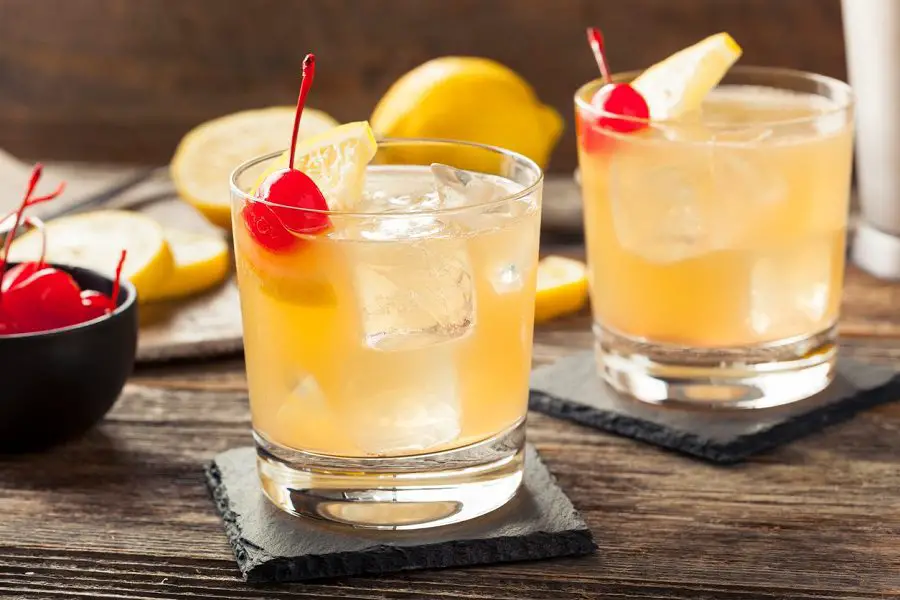
A classic recipe for homemade whiskey includes purified water and malted barley. Adding other grains can alter the flavor profile of the finished brew. You’ll also need to distill yeast to complete the process.
Once you have the ingredients, you must use the right equipment. You’ll want to get accurate kitchen scales, distilling barrels, and carboys. You’ll need more tools to complete this recipe; the list is below.
Always choose high-quality, air-tight, leak-proof containers for the job. Anything else could lead to contamination.
Home distilling can be dangerous, so it’s essential that you know what you’re doing and take the proper steps.
It’s worth noting that it’s illegal in the United States to brew whiskey at home. You need the proper certifications and licenses to do so.
Equipment Needed
Here’s a quick breakdown of the brewing tools you’ll need. Many people use equipment from wine and beer-making kits.
However, you can also buy everything separately, if that suits you more.
- Cooking pot
- Stirring utensils
- Accurate kitchen scales
- Stainless steel fermenter
- Kitchen thermometers
- Stainless steel funnel
- Distiller
- Wooden barrels or wood spirals for aging
- Carboys
- Cheesecloth
- Alcohol hydrometer
- Liquid measuring cups
Ingredients
Next, here are all the ingredients to make homemade whiskey:
You should choose the highest quality ingredients to get the best possible brew.
For example, the quality of the water can significantly impact how your whiskey turns out. You’ll need to use only the purest water possible because contaminants can ruin the taste of the final brew.
A higher quality barley contains more starch, which converts into sugar during malting. Quality malts offer more flavor and give you a better-tasting homemade whiskey.
Making the Homemade Whiskey
You craft your homemade whiskey through malting, mashing, fermentation, and distillation. You can start as soon as you have all the tools and ingredients.
1. Malting the Barley
Start by crushing the barley malt. You want to leave behind some smaller chunks, so don’t grind it into a fine powder. It should be coarse.
You can crush the barley using a rolling pin and plastic wrap if you don’t have a grain grinder. You can skip the crushing part if you have pre ground barley malt.
Next, add the malt to a metal container and pour in hot water. You need to ensure the water doesn’t get hotter than 158°F (70°C) because it will destroy the enzymes in the grains. Stir the mixture, aka the mash, until it’s well-mixed and smooth.
Get the mash to 149°F (65°C), simmer, and close the pot. The mash needs to stay at this temperature for 90 minutes. Check on it about every 10 minutes and give it a good stir.
2. Adding the Distilling Yeast
You’ll need to cool the mash before you add the distilling yeast. The easiest way is to set the entire pot in a larger container of cool water.
Use your kitchen thermometer to watch when it reaches 77°F (25°C). Remove the barley mash from the bath and pour it into your stainless steel fermenter.
Then, add the yeast, stir, and seal it. Every yeast product has different instructions. So, always read the label for an accurate measurement.
3. Fermentation
The yeast eats the sugars in the container, creating alcohol and carbon dioxide. The carbon dioxide causes the mash to bubble.
You should let the fermentation go on for about three days. Although, it depends heavily on the type of barley you use, it can take up to 15 days, so check on it often.
You can do this by using an airlock on the fermentation container. When there are no bubbles inside it for 48 hours, you can move on to distilling.
4. Distillation
Next, pour the mash into your distiller. You’ll need to use your funnel and the cheesecloth to catch the loose pieces of crushed barley.
Leaving them in the mixture will drastically alter the final taste of the brew. The distiller separates the alcohol from the water and yeast. You’ll need to do this two times.
You’ll separate the distillate into the head, tail, and heart. The heart is the part that you can drink. The head is the first part of the distillate.
It consists of toxic ingredients. You need to dispose of it. Remove the tail, the final part of the distillation, as well. It can make the whiskey taste extremely bitter.
It’s not as toxic, but you still don’t want to drink it. Use the alcohol hydrometer to ensure you’re achieving the proof you need.
5. Aging
Finally, you’re ready to age the whiskey. It matures in a wooden barrel, giving it a better flavor profile.
If you don’t have barrels, you can use wood spirals. These spirals go inside the aging container with the whiskey to add a woody flavor over time. Oak spirals are one of the most common options.
Now, wait for the whiskey to age. The longer, the richer the flavor. You should wait at least six months. Although most official whiskey producers age their products for two years or more.
FAQ
How long does homemade whiskey stay good?
If made correctly, an unopened bottle of whiskey should stay good forever. Once opened, you have between six months and two years to finish it. You should never drink whiskey that you’re unsure about.
How long should you age whiskey?
Generally, six months to two years is enough time to age whiskey. As soon as you open the container, it stops aging. So, you’ll want to leave it somewhere you can forget about it for a while.
Is homemade whiskey called moonshine?
Homemade whiskey and moonshine are similar, although they’re not the same. Moonshine is whiskey that hasn’t aged. It’s clear, has a high alcohol content, and uses corn as the base instead of barley.
Wrap-Up
In short, that’s how you can make homemade whiskey.
Knowing how to distill your brews can be a huge benefit when SHTF. You’ll have access to tasty liquor that you can use for battering and more.


