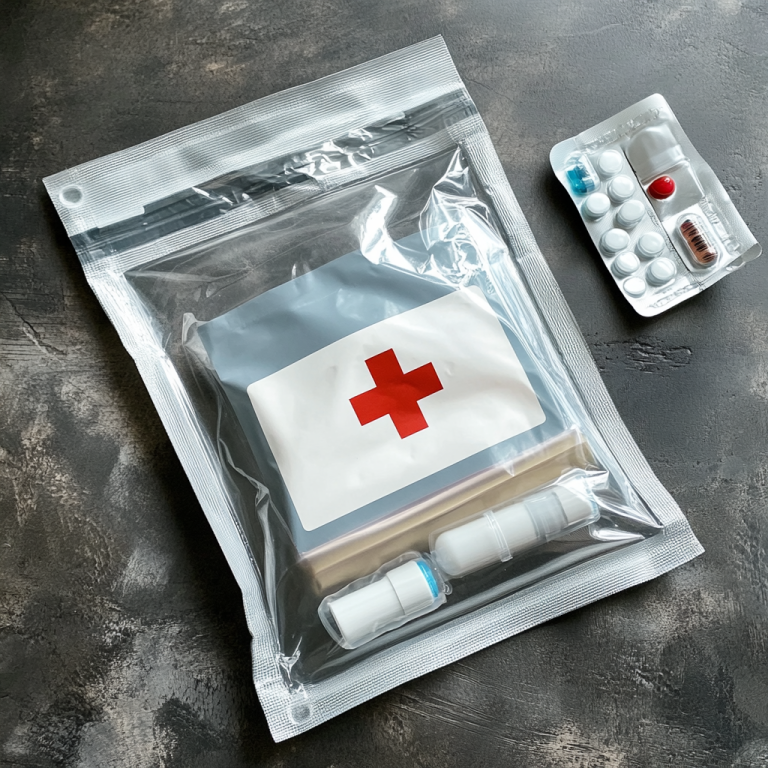
I keep a fire starter kit in a Ziploc bag for each of my various packs used while hiking, or most any outdoor excursion. I also keep a fire starter kit in my truck, my ATV, and my snowmobile. It’s a good idea to have one for a 72 hour survival kit, and other emergency kits that you may have:
- 72-hour kit (generic)
- Emergency kit in vehicle
- Bugout, evacuation bag
- Get home bag (one at work too?)
- Day pack for hiking
- Pack while hunting / fishing / outdoors
- Camping
- Emergency kit in ATV, 4-wheeler
- E-kit in snowmobile
- Boating emergency kit
- EDC, everyday carry (at least a lighter)
The ability to make fire. It’s a survival essential. And having more than one way to start a fire is very good preparedness. I’ve heard it suggest to be able to make a fire within 5 minutes.
Fire Starter Kit List of Items
Have More Than One Way To Start A Fire
(photo: one of my day hike packs with fire starter kit tucked inside)
Within my fire starting kit (in a Ziploc bag), or kept in its own pack compartment, I may keep any of the following items:
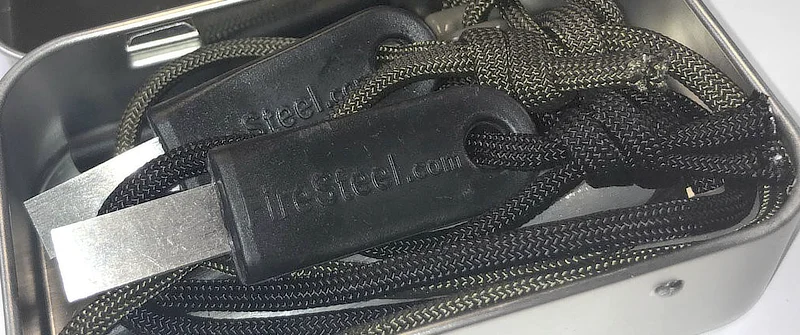
FireSteel Rod
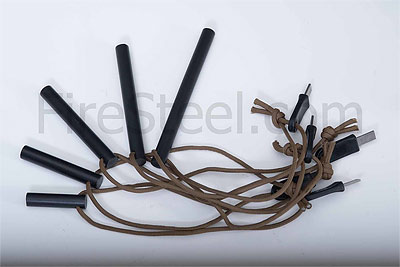
This incredible FireSteel rod will shed gobs of sparks onto a pile of tinder while firmly scraping down its edge with the metal striker that comes with it, or your knife, etc..
>> FireSteel.com
Contractor for the U.S. Military. All different lengths and diameters. These are the best!
[ Read: Best FireSteel Rod For Survival ]
BIC Fire Starter (Lighter)
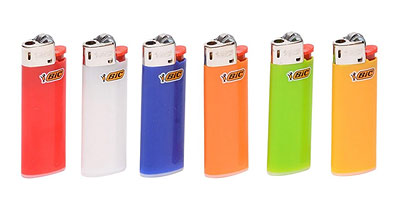
>> BIC Lighter Classic (dozen)
(view on amzn)
A simple addition for your fire starter kit. While a BIC type lighter won’t work reliably under all conditions (a challenge when it’s really cold), it is by far the simplest and quickest way to get a fire started. It’s easy to keep in a pocket for every day carry too. The BIC fire starter will perform better in cold weather if it has been kept warm in your pocket.
Bic Multipurpose Long Tip Lighter
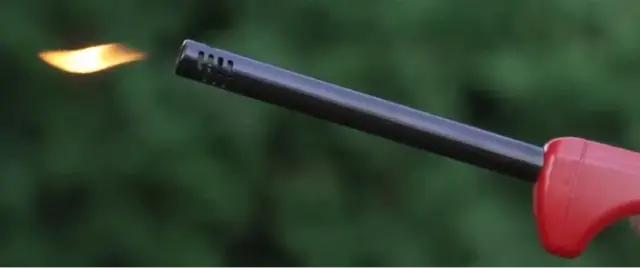
Do you want to set yourself up for awhile? Buy a bunch of these lighters for just-in-case…
Zippo Lighter
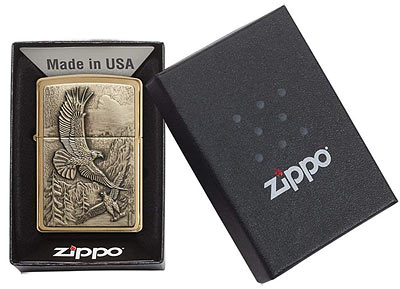
>> Zippo Eagle Lighters
(view on amzn)
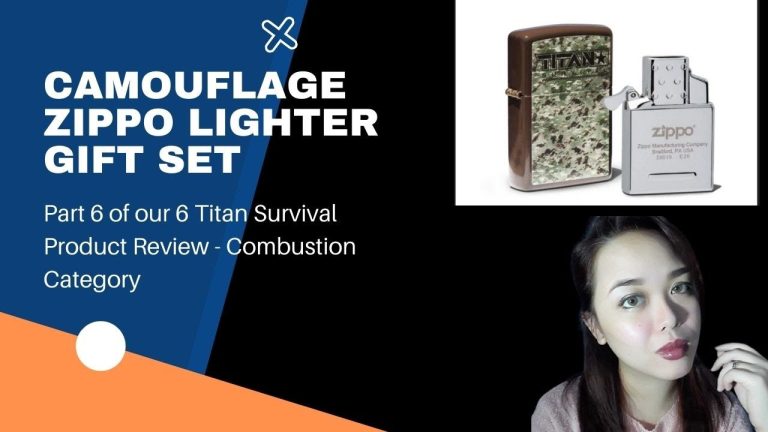
I also have a Zippo lighter (the one pictured above). The Zippo is nice in that it can light up, burn for a while without melting. It can be placed on a surface and it will stay lit (this has advantages!). This frees up both hands for tasking.
A plastic Bic type of lighter (though it has its uses) requires your thumb to always be on the valve to keep it lit. And it will get hot (and melt?), come apart after a minute or so of being lit…
A disadvantage of a Zippo lighter is that it does requires refueling. The cotton material (or whatever it is) inside will eventually dry out of fuel, even if not in use. Though it takes awhile. It’s just something to keep in mind.
Strike Anywhere Matches versus Strike On Box
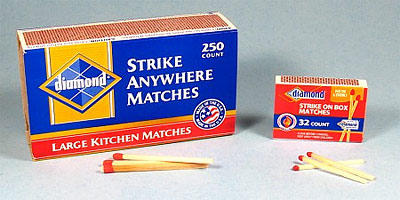
‘Strike Anywhere’ matches are a great backup to a lighter. They’re even more effective as a fire starter when bundling two or three of them together. Strike into a nice big flame.
UPDATE: Strike Anywhere Matches (with the white tip) are hard to find. I suspect this is a safety thing. Rubbing together / smashing a box, etc. may cause them to light. Nowadays, it’s mostly Strike On Box matches.
Simpy keep the matches in a waterproof containment. And/or dip the head of stick matches in hot wax to waterproof them.
>> Diamond Brand Classic – Original Strike on Box Matches
(amzn)
Magnesium Fire Starter
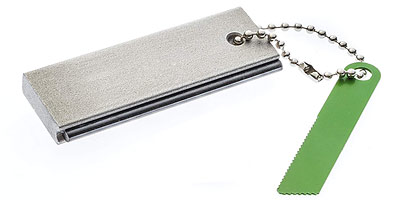
>> Original SE – Full Magnesium Body
(view on amzn)
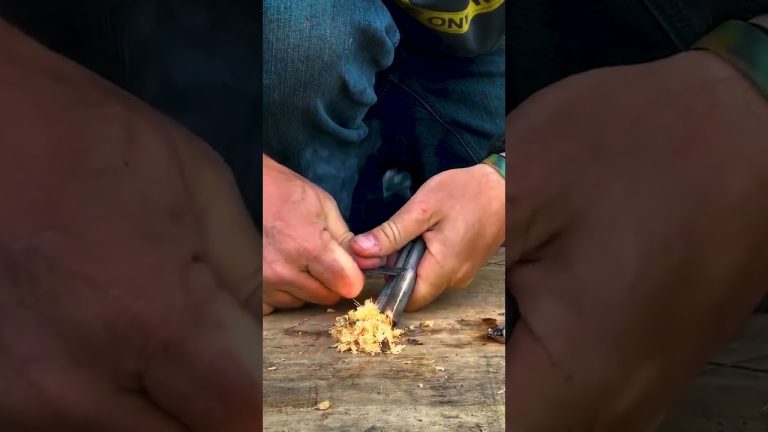
Make a quarter size pile of magnesium shavings using the scraper on the magnesium portion of the bar (or a knife). Use the striker (or knife edge) to direct sparks from the flint onto the pile of shavings. Have tinder ready.
Candle
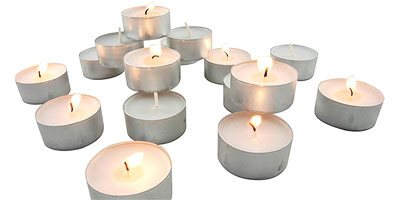
This little candle will burn for several hours and could be lit first under wet conditions to help with a consistent flame to get a tinder / kindling pile burning.
I have kept a tea light candle in my fire starter kits. Nowadays I’ve switched to a bit more robust ‘votive’ candle instead. It’s about 1.5 inches tall and wide. Will burn a lot longer too.
>> Votive Candles
(view on amzn)
Vaseline Coated Cotton Balls
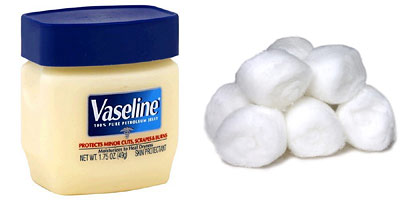
Simply smear some Vaseline on a few cotton balls for a nice little ball of fire when lit. I keep pre-smeared cotton balls in a small sandwich bag (to keep the goo from getting on everything else) and I keep that bag within the fire starting kit Ziploc bag.
Fire Starter Squares
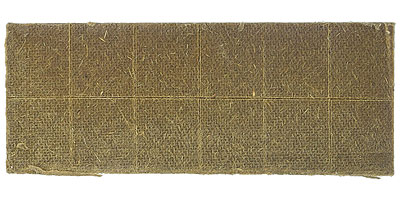
They sell various types and sizes of fire starter squares or pucks. Right now I have the ones pictured above. They’re recycled wood chips blended with wax. When lit they will burn for awhile, plenty of time to get some kindling going!
I also use these to “cheat” while starting fires in my outdoor fire pit.
>> Fire Starter Squares, 144 Squares
Fresnel Lens or Magnifying Glass
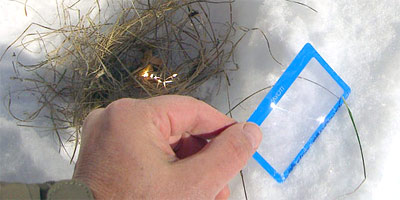
I keep a small flexible Fresnel lens in my wallet at all times as part of my everyday carry. If the sun is shining, I can probably make a fire with it. You could just as easily keep one in your kit, just like a magnifying glass.
[ Read: Fresnel Lens For Your Wallet ]
>> Credit Card Size Fresnel Lens
(amzn)
Fatwood Fire Starter
Fatwood is harvested from the stumps of pine trees that contain a high concentration of natural resin. It burns well. You can get some yourself, or buy it:
>> Fatwood
(amzn)
Road Flare – The Best Fire starter
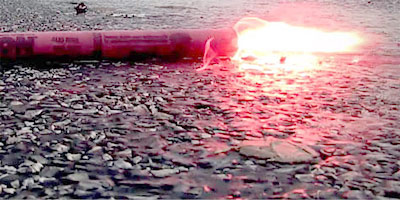
Don’t laugh, but a road flare is an excellent fire starter! While it’s fairly large and won’t be practical for all kits, it WILL start a fire! When it’s so cold that your fingers don’t work, this could save your life.
[ Read: Paraffin Candle & Road Flare for Your Kit ]
Cold Weather Fire Starting Advice
Comment from a reader here on Modern Survival Blog:
Starting fires with flints and burning metal chips all works under ideal conditions; in which case just use your Bic lighter.
Emergency fire starting does not typically take place under ideal conditions! When you are so cold and wet your fingers don’t work anymore and your own thoughts betray you: You need a way to get a roaring fire burning when everything in your environment has been dampened by rain and fog for weeks on end.
When the best tinder you can find is damp, you must sustain a flame for several minutes to ignite it.
A paraffin candle on its side, dripping into your tinder has been successfully used since the days of the mountain men. I still carry one in my kit.
(Road Flare – Fire starter during Hypothermia)
But I have found the standard road flare is the best bet now. If weight is a concern, break it off, down to 5 minutes worth. Keep the end with the striker and cap of course. If it gets wet, light the striker end with your trusty Bic lighter or waterproof matches and you are still in business. The 3800 degree blasting flame will ignite the most stubborn tinder and in fact, you really don’t need tinder.
Take it from me; all of the fire making scenarios pale in comparison to the misery of hypothermia setting in because you slipped crossing a creek, fell through the ice or simply because you have been rain soaked for days and are starting to wear out. Keep it simple!
Another commenter said “Put your hands in a bucket of ice water for half an hour then try to start a fire with a match. Bet you can’t. Now try to light the highway flare, bet you can, been there done that.”
More Fire Starter Kit Ideas:
Here’s some additional input from a reader of the blog:
“So, what do I do? Most of the above, plus:”
Saw Dust & Paraffin
Option 1: Get a Dollar Store ice cube tray, fill it with saw dust, pour in enough paraffin to fill the cubes. Let sit for a few minutes, the saw dust/wax and paraffin mixture will shrink a little.
Then using a pencil, or something a little smaller, poke a hole in the middle of the solution. Stick in a wick that is about an inch above the mixture and add more saw dust, then press the mixture around the wick.
Now add some more parafin. Wait about 15 minutes or so, then put in refrigerator for about an hour.
Take out of fridge, pop out ‘cubes’ and you have a 15-20 minute fire source. Fuzz up the wick and you can actually get it lit with a ferrocerium rod!
Scrap Denim & Paraffin
Option 2: Got scrap denim? You got a fire starter. Cut strips of denim, about 1/2 inch wide and about 4 inches long. (Not from your current wearables. Unless you’re weird.)
Dip the strips in melted paraffin up to about an inch of where your holding it then place on wax paper or a piece of glass or the bottom of an empty coffee can. Do this to as many as you can get on whatever you are using to let them cool.
Dip them again in the wax and put back on whatever you let them cool on. Now, how to use: Fuzz up (fray) the non-wax end, apply a real flame or sparkles from Ferrocerium rod and….viola….you have a flame source that will burn for about 10 minutes.
I usually vacuum seal 6 at a time. Not touching another. Or, as I found out at a far later time, wrap each one in a small amount of paper towel. Helps keep them from sticking to each other and helps to ignite.
The above two options originated from being cold/wet/in snow/wind/rain and not one thing I had would create a fire.
I have since created and tried the above two options which work well, and also found that the first thing on the fire creating list is to eliminate the wet/snow/wind/rain part. So, I now have a Mil Spec Rain Poncho on my pack to create a primary shelter.
I must add that I also have kindling in all packs. Vacuum sealed bags of a couple of dozen tongue depressors, coffee stirrers (available in most coffee shops), or ‘craft sticks’……things that look like large tongue depressors. They can be split into smaller pieces and work quite nicely as kindling.
[ Read: Tinder For Building A Fire | A List Of Source Materials ]
Plus……I now vacuum seal several sets of 6 paper towels folded down to about 6×6 inches. I use about 1/2 sheet of one, torn into small pieces, as the initial fire source. They will ignite with Ferrocerium quite nicely.
[ Read: Things You Can Seal With A Vacuum Sealer Machine ]
[ Read: The Best Knife for Batoning Wood ]
