A Guest Blog Post by MIKE MILLER
So, you want to go hiking…
But, you’ve never hiked before. Maybe you’re
nervous, lost, or confused about how to get started.
Don’t worry. We’ve all been there, and no one
is born a hiking expert. We all have to develop our skills from scratch.
In this article, I’ll give you some pointers on how to get started hiking. These tips will create the bedrock of your hiking experience.

Don’t Go At It Alone
Although solo hiking is an excellent way to
clear your mind and get some alone time, the truth is that most beginners should
find a hiking buddy.
The reason why? Safety. You never know what
will happen when you’re out in the wild. You might get bit by a snake, you
might sprain your ankle, or you might get lost.
These situations are tough by themselves, and
they’re even harder when you’re alone in the middle of nowhere with no cell
service.
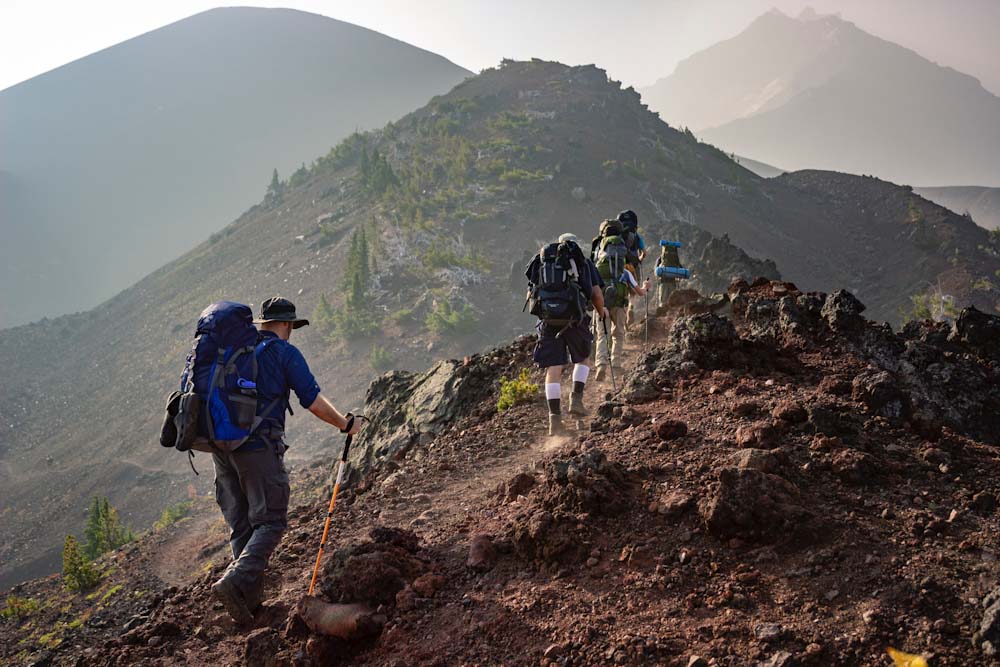
That’s why you should hike with a partner or a group. Your comrades will be there for you to make sure you finish the hike in the same condition you started it in.
On top of that, a hiking buddy can provide motivation when you get tired. They’ll also give you fun banter and hearty conservation, which is always a plus in my book.

Choose The Right Trail
Now that you’ve got your hiking squad
selected, it’s time to decide where you’re going to hike.
This is probably the most critical puzzle
you’ll face when preparing for your hike. You don’t want to get stuck on a trail that’s too hard, and you
don’t want to get bored by a flat, uninspiring trail.
The best trail for beginners is a “Goldilocks”
trail – not too hard, not too easy, but just right.
What distance, difficulty, and elevation this
equates to is difficult to define. Everybody has different levels of experience
and fitness, so there’s no “one size fits all answer.”
For a beginner, I recommend you start with a
hike that’s longer than 2 miles but less than 5 miles. This length will give
you a challenge, but won’t risk you getting caught in the forest.
If you’re struggling to decide, err on the side of caution and start with a shorter trail. The good news about small trails is that you can do them twice! There’s nothing wrong with picking a 2-mile trail and doing multiple laps. This is a simple way to tailor the length to your skill level.
How To Find The Right Hiking Route
You know what to look for in a trail, but
where do you find the right path? There are a million places to find hiking
trails, but I figured I’d mention some of my favorite resources.
Browse these sites, and I’m sure you’ll be able to find the perfect trail for your next adventure.

Don’t Get Lost
Once you’ve chosen the right trail, make sure
you’re prepared to navigate it.
There are a handful of apps out there that
allow you to download hiking maps to your phone. But, your phone battery might
die, or you might be stuck without cell service. That’s why it’s essential to
bring a map.
There are two options for getting a hiking
map. You can either buy one in advance from an outdoors store or pick up one at
the trailhead.
Most American parks have free maps available
when you enter the park. Make sure you pick one of these up and familiarize
yourself with the trails.
Another old-school tip for staying on the path – bring a compass. You can get a quality compass for a few dollars. With that small investment, you’ll now always be able to find your way. A compass and a park map will go a long way!

Bring The Right Gear
At this point, you’ve got your hiking partner
and trail picked out. Now it’s time for everyone’s (least) favorite activity –
packing.
Contrary to popular belief, packing for hiking
is not that difficult. For day hikes, the most necessary items to bring are:
- Water – bring more than you think
- Snacks – non-perishable,
high-calorie foods like nuts, granola, or beef jerky - Sun protection – hat, long
sleeves, and sunscreen
Regarding clothes, don’t feel like you need to
go overboard. For short hikes, a pair of sneakers and some gym clothes will be
acceptable. Just make sure you’re ready for the sun (with long sleeves) or cold
(with warm layers).
Also, consider elevation gain might change the
weather. Higher altitude increases the odds of precipitation and frigid cold. A
sweater and rain-jacket are crucial for high-height hikes.
On top of that, consider the following
emergency precautions in case things go south. These aren’t entirely necessary,
but if you have them, they’re definitely worthwhile to bring:
- Compass
- Map
- First-aid kit
- Matches/lighter
- Emergency Shelter
Once you’ve got all your gear lined up, throw it all in a high-quality daypack. A comfortable backpack that fits a lot of stuff is an affordable way to make sure your back doesn’t ache after hours of hiking. My favorite is the Osprey Daylite Plus.
Putting It All Together
Whew, that’s a lot of tips. I hope they’ve
been helpful.
If you take away one thing from this article,
remember that: “it’s a marathon, not a sprint.”
Everyone feels great when you start hiking, and you don’t want to burn all your fuel in the first hour. There’s nothing worse than being tired and hungry stuck in the middle of a long hike. Be patient, be prepared, and above all – enjoy yourself!
If you liked this article, make sure you check out my in-depth guide on hiking for beginners.
Mike Miller is the editor-in-chief of WildernessTimes.com – a site designed to make the outdoors, fun, easy, and accessible. After getting tired of wasting away in front of a computer screen, Mike decided to make hiking and camping his life’s passion.


