


SHTFPreparedness may collect a share of sales or other compensation from the links on this page.
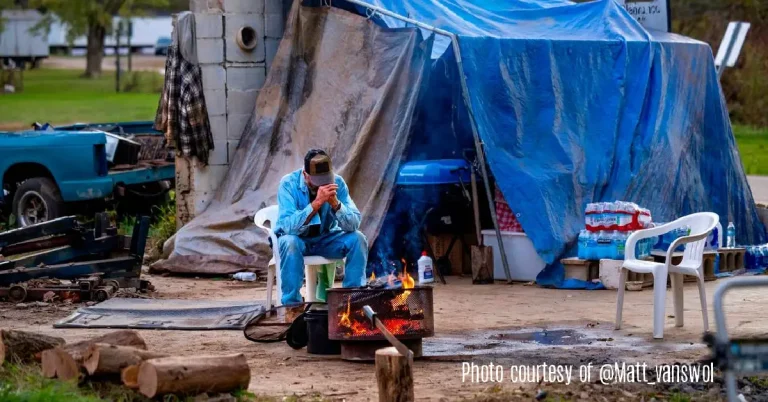
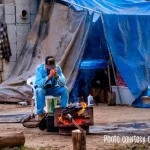
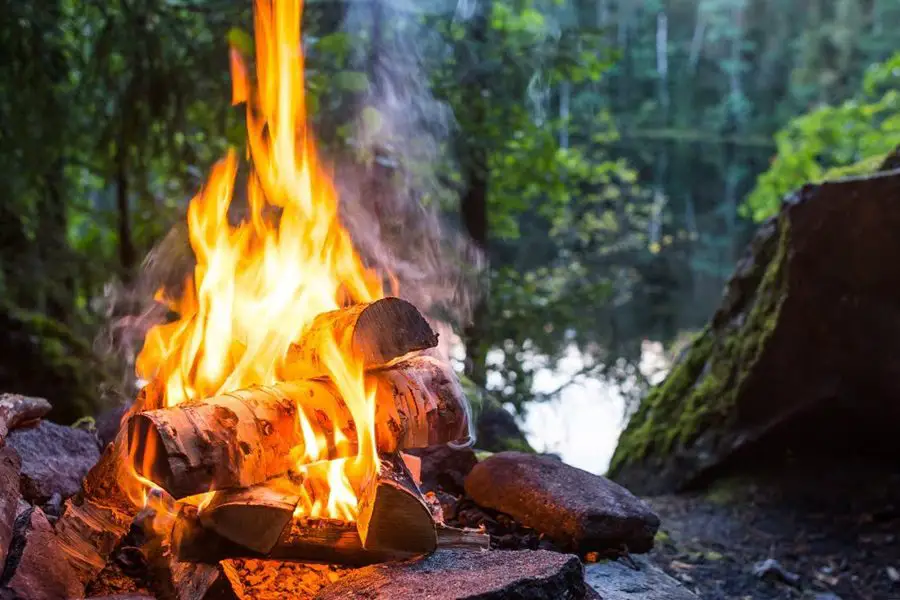
A perfect campfire is at the heart of every memorable campout. The warm glow, crackling flames, and smokey aroma strike a chord deep within us that dates back to the dawn of mankind.
Every camper should know how to make a roaring campfire that’ll keep the campsite warm throughout the night.
Let’s explore how to build different types of campfires, safety tips, uses, and benefits that you may not have known about.
Different Types of Campfires: Fire Structures
1. Teepee Fire

The teepee is one of the most iconic and recognizable fire lays. A cone of interlocking sticks makes up the teepee fire structure.
The cone shape lets the fire breathe to quickly light fuel wood and radiate heat outward, making it ideal for keeping warm. Eventually, the fire will collapse into a bed of coals, which you can stack or lay wood across to keep it going.
Pros
- Quick to start
- It breathes freely and burns hot.
- Easy to maintain
Con
- It is more difficult to set up interlocking sticks compared to simpler fire lays.
How to Build the Tepee Fire
- Place your bundle of tinder in a small pile on the ground.
- To form a teepee point, stake seven to eight pieces of kindling in the soil around your tinder.
- Lay the kindling into a layer on the downwind side of the kindling you previously stuck in the ground. Leave the upwind side of the fire open for lighting the tinder and airflow.
- Keep adding sticks around the outside to form the tepee, but make sure to leave the upwind side open.
- Place smaller fuel wood pieces outside of the teepee.
- Keep adding sticks around the outside to form the tepee, but make sure to leave the upwind side open.
- Place smaller fuel wood pieces outside of the teepee.
- Light the tinder bundle inside the teepee.
- To sustain the fire, add fuel wood to the exterior in a log cabin or crisscross pattern once the starter wood burns down to coals.
2. Log Cabin Fire
The log cabin structure burns hot, has excellent airflow, and works excellent for heating a large area. The structure of the log cabin derives its name from the method of stacking wood.
Similar to the construction of a log cabin, the logs stack and interlink. This structure allows the fire to breathe easily and burn hot while still having a large amount of fuel available to burn.
The fire uses vertical space to stack much more wood than traditional fires can. The large amount of wood on the fire means you don’t need to spend as much time throwing logs on it.
Once wood burns from bottom to top, a large number of coals begin to accumulate in the structure and radiate heat outward, making it the perfect natural space heater.
Pros
- It breathes freely and burns hot.
- Burns for a long time.
- Great for heating a large area
- Easy to light and maintain
- Able to stack a large amount of fuel on the fire
Con
- More time-consuming to set up than simpler fire structures
How to Build a Log Cabin Fire
- Lay two large pieces of fuel wood on the ground, parallel to the wind direction.
- On the ground, place a bundle of tinder and kindling between the fuel logs.
- Build two to three layers of fuel wood criss-crossing each other on top of the two bottom fuel logs.
- Continue building perpendicular layers using larger fuels first, then move to smaller fuels to finish.
- When it becomes a few feet tall or you run out of wood, complete the structure. If you run out of wood, I’d recommend you gather plenty more before lighting the fire to maintain it.
- Light the tinder on the log cabin’s bottom and wait for the fire to start burning.
- As the original wood burns to coals, place wood around the fire or lay wood across it to maintain it.
3. Lean-To Fire Lay
Lean-to-lay fires are ideal for situations where you’re in a time pinch. Within a minute, the structure creates a simple and effective campfire that is ready to burn.
The best way to make a lean-to-lay is to use a large fuel log that you can lay the other fire material on. The log acts as a wind barrier or wind scoop, depending on the direction.
To help the fire breathe, you should build it parallel to the direction of the wind. If your first fuel log has a flat top, you can place a pot or pan on it. Scoot over the firewood and lean on it to make room for holding your BBQ grill fork and cooking utensils.
Within no time, you’ll have a warm meal ready to eat. Another advantage of using a large fuel log to lean the fire material up against is that the fuel log will light faster than with other fire structures. The fuel log is always in the fire and lights up quickly.
Once the fuel log starts burning coals, you can toss on another fuel log and lean more fuel logs against it. When combined with the bed of coals, you’ll have a hot fire that will burn for hours on end.
Pros
- Easy to set up
- Quick to light and get burning
- Easy to maintain ?????
- For simple cooking, you can place a pot or pan on the fuel log.
Con
- It doesn’t breathe as well as other structures if the lean log isn’t parallel with the wind direction.
How to Build a Lean-to Fire Lay
- Lay a large fuel log on the ground, parallel to the wind direction.
- Put a tinder nest next to the log on the side closest to your camp.
- Lean kindling sticks are perpendicular across the log to the ground, leaving the sides open for the wind to travel through.
- Place the larger fuel wood on top of the kindling to ensure the fire is complete.
- Light the tinder inside and wait for the fire to catch.
- Lay more fuel wood across the fire as necessary, using a new log for a lean-to-lay once the primary fuel log burns.
- If you wish to cook over the lean-to-lay fire, place a pot or pan on a flat section of the fuel log parallel to the wind direction.
4. Star Fire/Indian Fire
The star fire derives its name from the orientation of the fuel logs on the ground. The fuel logs form a “star” shape on the ground, resembling the spokes of a wheel, with an open ring in the center for kindling and tinder.
You can place a pot or pan over the center ring to cook a hot meal. Push the ends of the fuel logs into the fire as they burn, accumulating a fiery mass of coals to keep the area warm.
You can quickly set up star fires and add wood to the fire with ease. To feed and grow the fire, push fuel logs into the center of the ground. The logs will gradually burn and build a hot bed of coals in the center, radiating heat and warming your campsite.
Pros
- Easy and quick to set up
- Burns for a long time.
- It burns hot and breathes great.
- Easy to light and keep lit
- Good for cooking over
Con
- Pushing logs into the fire may be difficult if it gets very hot.
How to Build a Star Fire
- To form an open center ring, arrange six to ten fuel logs touching ends together in a wheel-spoke formation.
- Place a tinder bundle and kindling in the center ring.
- To start the fire, light the kindling in the middle.
- As the fuel logs burn, push them further into the center to build a bed of coals.
- Add extra fuel logs and push them into the fire’s center as needed.
- If you wish to cook over the star fire, place a pot or pan over the center ring of the fire to easily cook a hot meal.
5. Pyramid Fire/Inverse Fire
A pyramid fire goes against the conventional design of having the tinder and kindling at the bottom to ignite the denser fuel logs on top.
Instead, the pyramid structure places the tinder and kindling on top of a stack of fuel logs. The benefit of this structure is that the fire lasts longer, creates heat, and even burns, which accumulates into a pile of hot coals.
The pyramid structure produces a fuel pile that burns longer and hotter as the fire advances. The downside of this structure is that the kindling must ignite the material below it.
Regardless, this fire is still effective and scores excellent marks for a long burn time and simple maintenance since you can just stack more material on top as the fire burns downwards.
Pros
- It burns hot and breathes easy.
- Burns for a long time.
- You can pile a lot of fuel on
- Easy to set up and stack
- Tinder and kindling are easy to light.
- Easy to maintain
Cons
- It can be harder to get fuel logs started when compared to more conventional fires.
- It takes longer to get hot.
How to Build a Pyramid Fire
- Place a row of large fuel logs at the bottom of your fire pit.
- Lay a perpendicular layer of smaller fuel logs on top of the previous layer.
- Work your way up the pyramid in perpendicular layers with smaller and smaller fuels.
- At the top of the pyramid structure, there was a tinder bundle and a kindling pile.
- To ignite the kindling and start the fire, light the tinder on top.
- As the kindling burns, the firewood below should burn and create coals.
- As the primary logs begin to burn to coals, stack or lay more wood across the structure to feed and maintain the fire.
6. Parallel Fire
Because of its channeled upward heat, the parallel fire is ideal for cooking over.
The two parallel logs on the side serve as a rest for a cooking pot, as well as channeling the fire’s heat upwards and sucking in oxygen.
Once the kindling burns down to coals, you can add larger fuel woods in the middle to feed the fire. You can also rest a pot or pan on the logs to quickly warm them up and make them perfect for cooking.
Pros
- Great for cooking over
- It burns hot and breathes easy.
- Simple to set up and maintain
Cons
- Scaling up to bonfire-sized is harder.
- Requires a larger fire pit.
How to Build a Parallel Fire
- Place two large logs parallel to each other in the fire pit. The logs must be close enough together to support your pot or pan, but also far enough apart to make room for the fire beneath.
- Place a tinder bundle in between the logs and lay a decent amount of kindling across the logs’ gap over the kindling.
- Light the tinder to start the fire, and wait for the kindling to burn to coals.
- Once the kindling has burned to coals, place larger fuels over them to feed the fire.
- To maintain the fire, place fuel logs in the gap between the parallel logs where the coals and fire lie.
- If you’re cooking over the fire, rest your pot or pan on the parallel logs for a perfect cooking platform.
7. Swedish Fire Torch/Candle
The Swedish fire torch is an excellent structure for cooking and warming a small crew for several hours.
The top of the log can support a pot or pan and still burn plenty hot because of the cuts inside the log that always feed it oxygen. The larger the log, the longer the Swedish fire torch will burn.
After a few cuts with a chainsaw, setting up the fire is easy and requires no maintenance, allowing it to burn for several hours once lit.
You can also make several fire torches and light them side by side to make a campfire that will last for many hours with no maintenance whatsoever.
Pros
- It burns hot and breathes easy.
- Burns for a long time.
- Great for cooking
- Once the log starts burning, it requires little maintenance.
- Looks amazing
- Conserves firewood and burns efficiently.
Cons
- Requires a chainsaw.
- It is difficult to grow the fire larger, but you can make multiple Swedish fire torches instead.
How to Build a Swedish Fire Torch
- Make three cuts from the top to ¾ down the log with a chainsaw to create six equal connected wedges of log.
- Fill the top face of the log cuts with plenty of tinder, then place kindling on top of the log.
- Light the tinder and feed more kindling to the fire until the log ignites.
- Sit back and enjoy the flame for many more hours. The larger the log, the hotter and longer the fire will burn.
- If you wish to cook over the Swedish fire torch, place your pot or pan on top of the log for a perfect cooking surface.
8. Siberian Survival Fire/Long Log Fire
The long log fire structure is great for heating a large area and cooking over it. The long log fire is a lengthy stack of fuel that burns hot into the night.
The fire has two long logs at the bottom, a long log at the top, and tinder and kindling in the middle. After lighting the fire, move the top log downwind to create a cooking surface on the bottom two logs.
Place your pot or pan on top of the two bottom logs, and you’ll be ready to cook.
Pros
- For a long time, it burns hot and evenly.
- Takes advantage of larger logs
- Requires little maintenance once set up.
- Great for cooking over
- It is easy to grow larger by adding logs on the side.
Con
- Requires a larger fire pit.
How to Build a Siberian Survival Fire
- Place two long fuel logs in your fire pit, parallel to the wind direction.
- Lay two bundles of tinder and kindling perpendicular across the logs. These serve as spacers, allowing airflow and igniting the larger logs. For bonus points, use green wood chunks as extra spacers.
- Place a long fuel log on top of the tinder, kindling, and two bottom logs to create a triangle stack.
- Light the tinder bundles and wait for the logs to ignite.
- Once one of the logs burns to coals in roughly 4–8 hours (depending on the quality of the wood), add another log to the triangle stack to replace it. Add new logs to the fire as needed.
- If you want to create an exposed space on the bottom two logs of a long log fire, push the top log towards the downwind side. To create a cooking surface, place a pot or pan on the exposed surface of the bottom two logs.
Wrap-Up
Understanding the different types of campfires can significantly enhance your camping experience, providing warmth, cooking options, and a cozy atmosphere.
It doesn’t matter if you’re a seasoned camper or a beginner; mastering these campfire techniques will make your outdoor adventures more enjoyable and memorable.