


What is Choko?
Chokos (aka chayote) are amongst the most prolific, versatile and healthful vegetables you can grow. Uncommon in shops and stores, chokos are a traditional staple in many warm temperate and subtropical home gardens. The fruits’ crisp texture and mild flavour lends itself to roasting whole or adding to soups, stews and sweet dishes, where it will take on the flavour of stronger tasting ingredients.

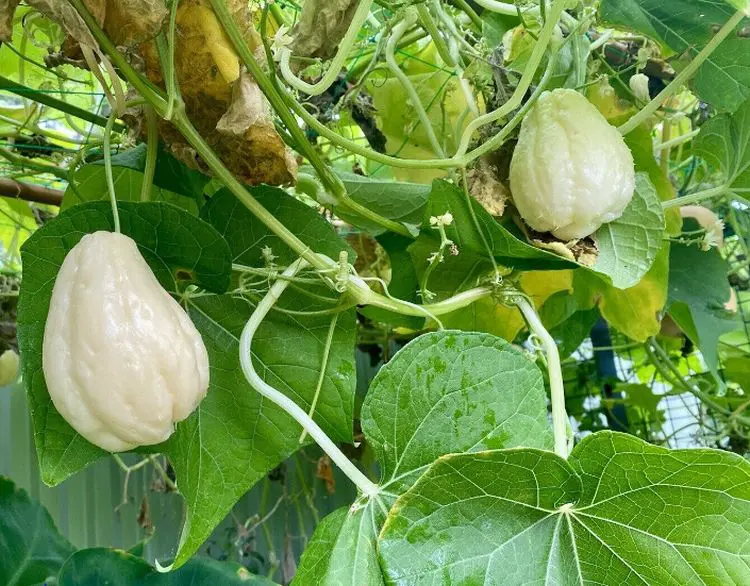
Much like passionfruit, chokos are a short-lived perennial vine that lasts for about 5-7 years. They bear progressively throughout spring and summer, producing an ongoing supply of fruit. The vine is huge, heavy, and vigorous, and will require a large and strong trellis for support. Chokos are most commonly pale green (shown above), but there is also a white variety, which tastes the same.
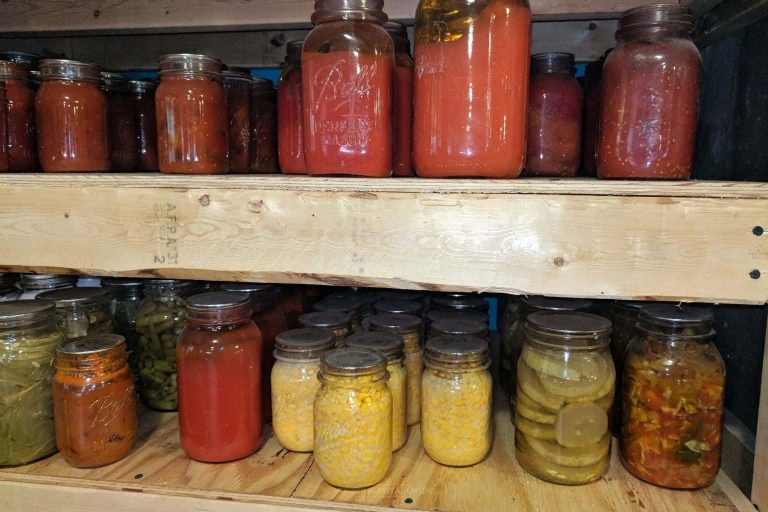
In self-sufficiency terms there are many advantages to growing this vegetable. Not only does a choko vine put a lot of food on the table, but chokos can be frozen, pickled or preserved for later use. They are space-efficient in the garden too, as their climbing vine habit means they grow vertically. They can be of double benefit in a small space garden, as the lush & bushy habit makes them ideal for creating a privacy screen. A choko vine can also be used as shading for vegetable beds in a sunny position.
How to Eat Choko
Chokos are very easy to cook with, and really quite versatile. They’re rather like a potato in this regard, but better, as chokos work in both sweet and savoury dishes. You can bake or boil them whole or sliced, with or without the skin. You can peel and cube them, and add to stir-fries. Chokos bulk out fruit pies and crumbles very well, with apple being a traditional favourite.
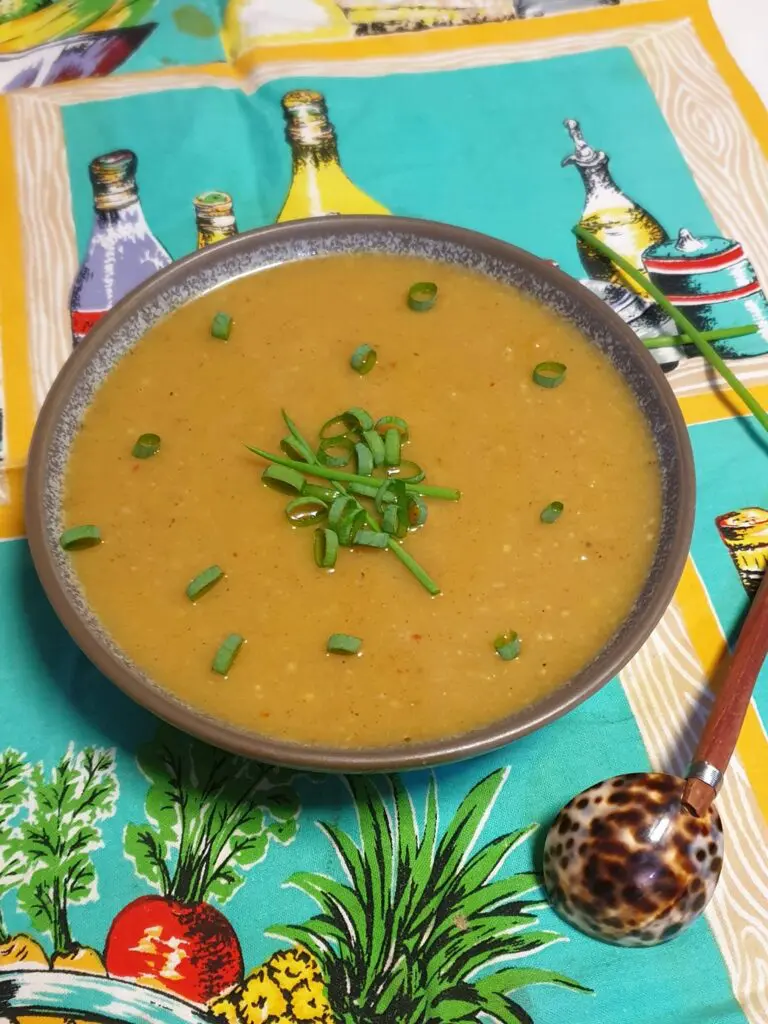
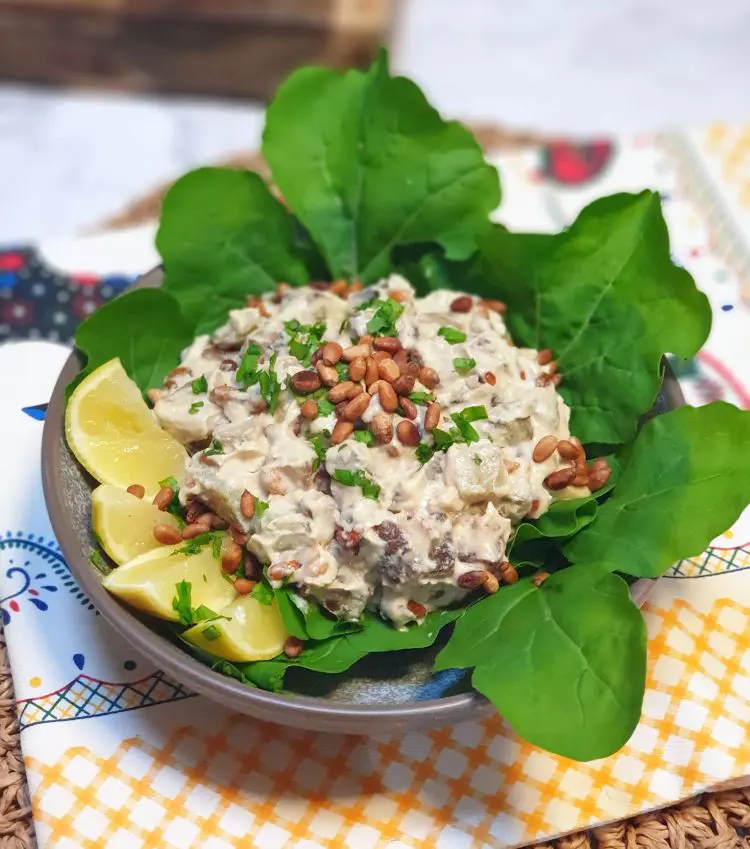
And then you can take it up a notch, and make a dish that features choko. Our potato, paprika and choko soup is a smoky, salty low-calorie delight, while our choko & roast pine nut side salad is a nutty, garlicky complement to any meat.
How to Start a Choko Vine
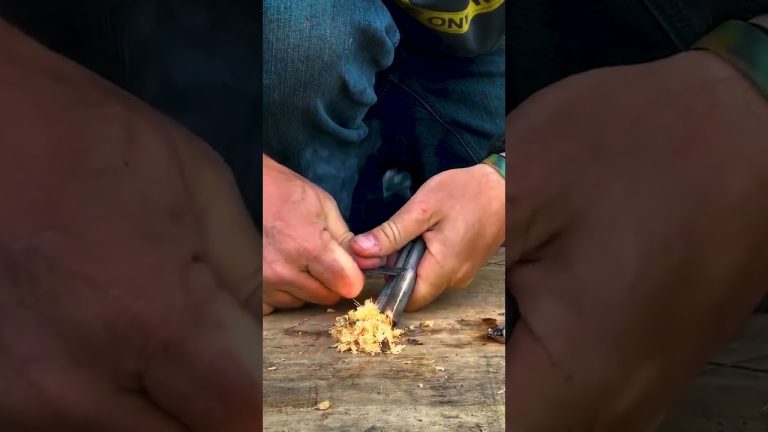
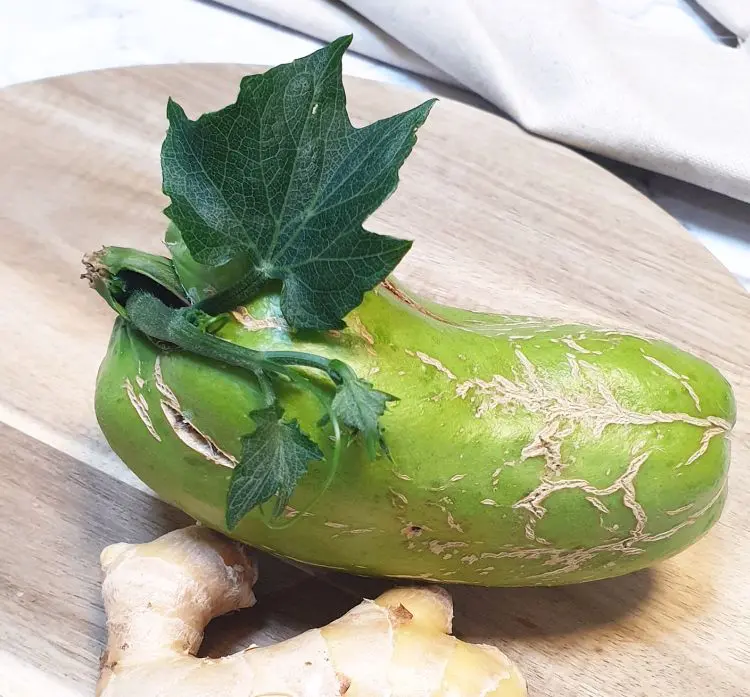
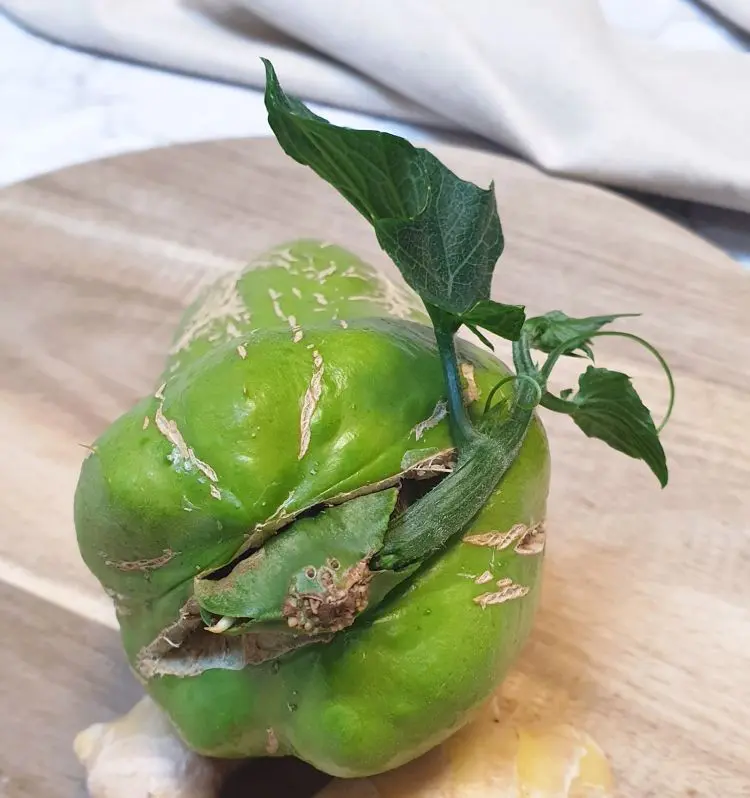
To grow a choko plant, you simply start with a choko. They’re similar to potatoes in that respect. Take a healthy whole choko, put it aside in a dark dry place, and after a while it will grow a sprout. I sprout mine at the back of a little-used kitchen cupboard; the photos below are the result. Once the sprout is at least 7cm (3?) long, you can plant it in soil, and a new choko vine will grow (technically speaking, chokos are viviparous. This means that it is a plant whose seeds germinate while still attached to the parent fruit).
Chokos are self-fertile, so you’ll only need one to grow a plant which bears fruit. They are best planted out in spring, as they need warm soil to get going. Once your choko has sprouted, place it sideways on top of the soil and tilt the seed end downwards. Do not bury it under the soil, or it will rot and die. Put a little stake in the pot at the time of planting, as choko vines need support even when very small. As the plant grows, you will see that the choko shrivels up, which indicates that the emerging vine is growing and using up nutrients.

To read all the details on how to start a choko vine, see our full article here.
Growing Conditions
The frost-sensitive choko prefers a warm climate with at least six hours of direct sun per day. Relatively drought-tolerant once established, the choko vine can handle all-day sun and significant summer heat, and does best in warm temperate to non-humid subtropical climate zones (USDA zones 8-11). Note that this does not include humid subtropical zones like seQLD. Your choko may start to suffer if the temperature drops below 15 degrees (55F), and any frost will kill the vine completely.
In subtropical south-east Queensland, I find that my choko vine thrives through winter but struggles a bit in summer. We don’t have its ideal climate, so we do have to work a bit harder to grow choko successfully. Essentially, they don’t like too much water and direct afternoon sun is usually too harsh. I get mine through the worst of it by lying a large opened beach umbrella up against the base, which shades the roots. This was particularly good when I’d first planted it out, as its small size didn’t give it the strength to withstand several hot & humid days in a row.
Water
Water, too, needs to be moderated during summer. Don’t be shy to cover the soil during heavy rain events to save your plants. (It may look a little crazy, but who cares?) I’ve been known to use small plastic tables, cut-up plastic shopping bags, and umbrellas to shield garden beds here and there…and it works! Choose its position carefully; morning sun rather than afternoon sun is best, if you can manage it. Mitigate any potential waterlogging before you start. After being started in a pot, my choko found its permanent home in a small raised Birdies herb bed, which allows the excellent drainage that choko vines require.
Choko vines can suffer mildew in humid weather, so good airflow is very important. Make sure to water your choko vine at the base so as to avoid splashing water on the leaves (just like you do with tomatoes). In order to maximise fruiting potential, plant your choko into fertile soil which contains plenty of organic matter. The soil needs to be free-draining and in the pH range of 6-7.
I started my choko in the above bed in the hugelkultur style. I placed some branches, twigs leaves and larger organic matter in the base, then added a mixture of garden soil and bagged soil. Lastly, I mixed through some cow manure fertiliser and a good sprinkling of blood and bone, and haven’t touched it since. 18 months later, I have a very healthy vine which is producing more fruit than I can eat.

Make sure that you have a strong trellis in place before you plant your choko vine out in its forever home. This is a large, sprawling vine that cannot support itself. What’s more, once it starts growing, it grows very quickly and needs a bit of training and/or tying back to get it growing the direction you want it to. You don’t want to end up retrofitting a trellis, as it usually results in damaging or cutting back a young plant.
Ongoing Care
In the long term, choko vines are easy to look after. Pull off dead leaves as you see them, add some fertiliser once a year, and make sure it never gets too much water at once (you’ll know if it gets too much water- it’ll wilt quickly and possibly die). Fruit should appear after about one year. Harvest the fruit when it reaches a medium size and medium-green colour. Small fruit are inadequately developed and a darker shade of green, and large fruit can become woody, fibrous and very pale green. If fruit show brown ‘cracks’ or ‘lines’ on the skin, you’ve left them a bit too long.

And that’s all there is to it! Choko vines are very easy to get started once you know how. They are said to be randomly temperamental during establishment though, and fussy about their position in the garden. So if at first you don’t succeed, try, try again!