Oxygen absorbers are crucial for long-term food storage. When you put them in an airtight container such as a Mylar bag or #10 can, they absorb the oxygen. This creates an oxygen-free environment so the food inside the container lasts longer.
There are plenty of places to buy oxygen absorbers (see our top pick here). However, it’s also fairly easy to make your own oxygen absorbers. I’ll tell you how it works and the instructions, but also explain why the DIY route is a bad idea.
Do DIY Oxygen Absorbers Work?
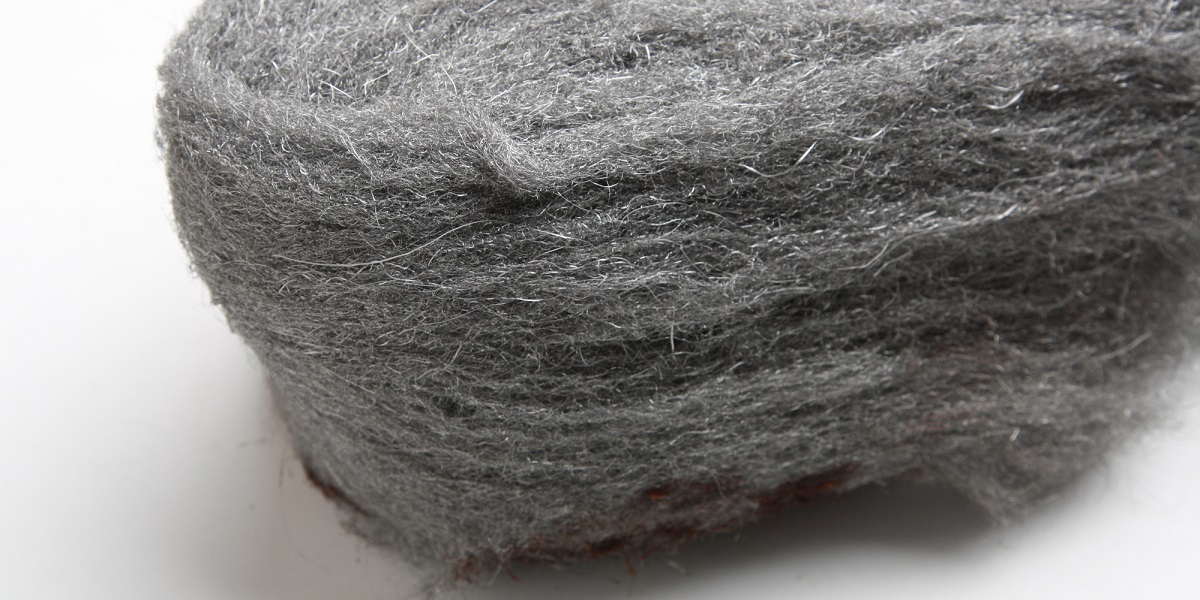
Yes, it is possible to make effective DIY oxygen absorbers. The science behind them is very simple. You combine steel with salt. The salt attracts moisture and causes iron in the steel start to rust. As the iron rusts, it consumes oxygen.
For you science nerds, here is the equation behind the process:
4Fe+3O2?+6H2?O?4Fe(OH)3?
Why DIY Oxygen Absorbers Are a Terrible Idea
Ever heard the phrase “Don’t step over a dollar to pick up a dime”? Well, that’s exactly what you’d be doing if you made your own oxygen absorbers.
Oxygen absorbers are cheap. Yes, you can save a bit of money by making them yourself. However, unless you have an oxygen monitor to measure your DIY oxygen absorbers, it will be impossible to know how well they work.
You run the risk of your DIY oxygen absorbers failing on you. You could waste hundreds of dollars of food to save a few dollars. Even worse, you end up without food during the emergency you initially stockpiled it for.
Situations Where Homemade OAs May Be Useful
In some countries, it is impossible to find oxygen absorbers. In this case, the DIY route may be your only option.
Likewise, you might also use DIY oxygen absorbers during a total SHTF disaster where you couldn’t buy them anymore. For example, if you produce your own food and need to store it.
You could also use the homemade OAs if you opened a bag of food during a disaster and need to reseal it. But it’s better to avoid this situation by packing your emergency food in smaller portions so it doesn’t need to be repackaged.
How to Make Oxygen Absorbers
Supplies
- Steel wool: Needs to be superfine “0000” steel wool, ideally without any soap or coating.
- Salt: Ideally, powdered salt, but any table salt will do.
- Acetone or denatured alcohol: These are optional.
- Wrapper: Empty tea bags or coffee filters work well. You can also use another air-permeable material.
Instructions
1. Soak the steel wool in acetone or denatured alcohol (Optional)
A lot of steel wool is treated with a coating to prevent rust. Soaking it in acetone or denatured alcohol will remove the coating and help it rust better.
2. Cut steel wool into pieces.
See the section below for info on how much steel wool to use.
3. Add salt to the steel wool.
One option is to rub salt directly into the steel wool. However, you will get better results if you boil the salt into the steel wool. To do that:
- Boil water in a pot. The pot should be big enough to hold all your steel wool pieces.
- Add lots of salt to the water.
- Put the steel wool pieces into the salty water.
- Let the steel wool boil until all of the water is gone.
- Remove steel wool and put somewhere to dry.
How much salt to use? The amount of salt doesn’t matter much. You just need it to start the rusting process.
4. Put steel wool into wrapper.
Make sure the wrappers are sealed well. These are your oxygen absorbers.
5. Test the oxygen absorbers.
Before you use the oxygen absorbers for food storage, test them. The easiest way to test whether they work is:
- Put one of the homemade oxygen absorbers in a mason jar.
- Screw on the jar’s two-part lid. Make sure it is tight.
- Wait. If the OA is working, the lid on the jar should suck down.
*Keep your other oxygen absorbers in a sealed, airtight container while you do the test!
How Much Steel Wool to Use?
To play it safe, you will want to use at least 500mg of steel wool for each 100cc of oxygen to absorb. See our chart on how many oxygen absorbers to use here. However, as mentioned before, it’s difficult to tell precisely how much oxygen gets absorbed with homemade OAs.


