


SHTFPreparedness may collect a share of sales or other compensation from the links on this page.
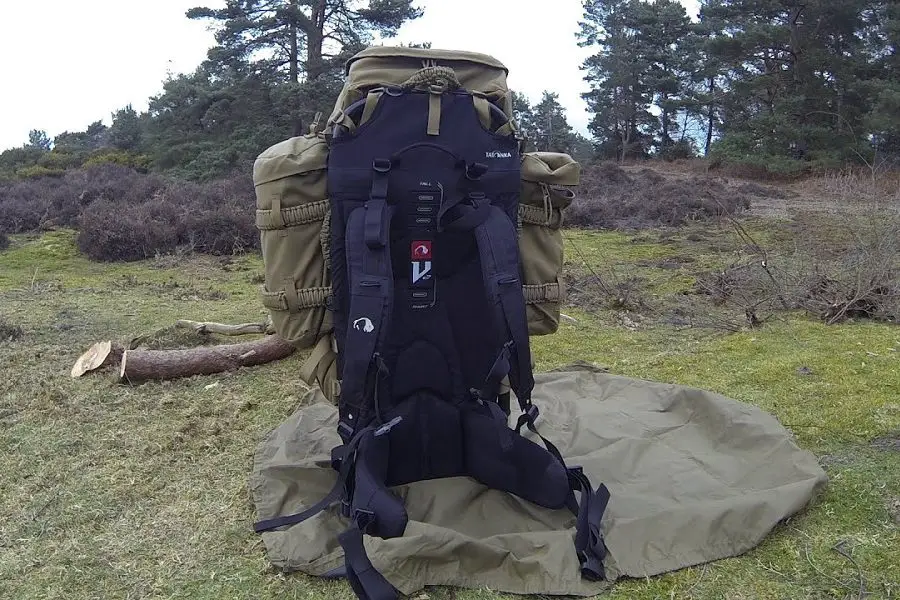
External frames are an obvious upgrade from lopsided knapsacks, but if you’re not packing them properly, then you haven’t really made much of a change at all.
There’s a method to this madness and a way to pack them that utilizes every aspect of the frame.
External frames help maintain your center of gravity, which sounds like hyperbole, but it’s actually how your body responds to a specific pressure and weight in various areas.
An external frame backpack allows you to carry more without damaging your lower lumbar or having a sore back the minute you put the backpack down at your campsite.
4 Simple Steps of Packing
It’s time to get organized.
We’re going to go through five sequential steps of packing your external frame backpack, and after your second or third camping trip, this will be second nature to you.
We want you to be fully prepared for every possible scenario, from your house to setting up camp and returning home.
Let’s check how to pack an external frame backpack!
1. Organize

Organize absolutely everything before you even look at your backpack.
You’ll want to separate everything by weight because your packing will depend on the total weight of your items and their individual weights to determine placement.
On one side of your surface, place heavy items, and on the other, place lightweight items. Pair bulky, awkward-weighted items together too. After organizing everything, it’s time to assess if it truly meets all your needs.
Get a checklist and write down everything you should be bringing with you. You can use an app like Google Keep or Wunderlist to create a task list and edit it from time to time.
In those notes, friends and family (or anyone who will join you camping) can add items to the checklist. Now use that to organize your pile and see if you actually have everything you need.
Make sure you’re not forgetting essentials or that one specific item that your significant other asked you to include.
2. Packing Basics
Pack your sleeping bag before anything else. This seems a bit silly, but it’s going to help you in the long run.
Even if you have an external frame backpack that can stand on its own when placed down vertically, your sleeping bag will not only help to keep it stiff, but you’ll be saving a ton of hassle later.
When you pack your items (which we’re going to talk about next), the last thing you want to do is attach a bulky, rolled-up sleeping bag to your packed bag.
If you’re a minimalist camper and you’re not using a two-person or bulky sleeping bag, and perhaps you’re using a roll mat or a sleeping pad, you can fold these flat and place them on the inside of your bag beforehand.
This is a rare occurrence since minimalists don’t typically use external frame backpacks. Regardless of where it goes, put the sleeping bag in first. Start by putting in heavy, bulky items before anything else. You’re going to do this for two reasons.
First of all, it’s difficult to place smaller items in the side pockets, only to have the bag go lopsided when you drop in a heavy item. Second, it lets you know how your bag will handle the weight distribution right away. Place the heavier items in your bag, attempt to lift them, and even try wearing them to gauge their comfort level.
You’ll be doing this periodically while packing your backpack. You need to make sure those heavy items are crucial to setting up camp right away. We’re going to essentially organize these items as we go, so be certain that they aren’t immediately necessary to set up camp.
These items are located at the bottom of the main compartment, close to the back panel. This all comes into play when we talk about your center of gravity, which depends on you to place items strategically so you don’t topple over from improper weight distribution.
3. Packing Lightweight
Now it’s time to start packing your lightweight, quick-access items.
The side external pockets hold items such as your wallet, a fire starter, other camping gear, and possibly camping permits or any necessary paperwork.
This is a simple step, but these items are more susceptible to environmental and shock damage than your bag contents.
Be wary when dropping this off your shoulders. It’s easy to forget that your sunglasses are in a small pocket when the pots and pans are at the bottom of the main compartment.
If your external frame backpack comes with more exterior pockets than you need for quick-access items (phone, survival watch, etc.), you can always use them during the next step.
4. Essentials
Finally, you’re going to put camping essentials near the top of the main compartment.
As previously stated, if you have extra external pockets, you can also use them now. Your goal is to put your bag down, undo the top flap, and immediately have what you need to start setting up camp.
The plan is to avoid dumping your contents in a big pile and sifting through them. Not only will you prevent damage to your belongings, but you’ll also maintain organization, enabling you to set up your camp in a sequential manner.
The top of the main compartment, the additional external pockets, and any additional bags that you’re carrying should be where you place your tent items, your fire starter to get a campfire going right away, fishing gear, survival EDC, food, and first aid.
We have to think about the possibility of an injury or accident happening on the way in, so keeping this gear and essential tools like your survival knife and multitool handy is absolutely crucial to being prepared in any situation.
Using an External Frame Backpack
1. Your Center of Gravity Defines Everything
If you carry excessive weight at the top, it will negatively impact your shoulders. If you carry excessive weight at the bottom, your back will bear the brunt of it.
The purpose of an external frame backpack is to evenly distribute weight and handle more than other bags can, while simultaneously balancing your capabilities with the maximum capacity.
2. How Well You Pack it Will Determine How Well it Works
That means abiding by the previous tip on your center of gravity, but also packing individual items that distribute weight evenly across your back.
If the manufacturer lists a weight capacity for your bag, try not to exceed 90% of the total allowance.
While your bag can handle those weights, it’s generally not advised to push the limits and expand your backpack’s durability.
3. When You’re Cleaning Your Backpack
You should clean your backpack after every single trip and pay special attention to the frame. While it’s not common, improper handling and usage could lead to a rusted frame after a few rough trips.
There are a few things you can do to keep it clean and protected. For example, don’t use abrasive materials like steel wool pads, even if there’s tough, stuck-on dirt.
Try to stick to plastic bristle brushes or simple cotton cloths. Next, if applicable, and especially if you normally encounter rain when you camp, you should use a waterproofing spray to protect it for future use.
To get the full effect of this spray, it’s best to use it one to two days before your camping trip. After it dries, you shouldn’t need to bring it along with you at all.
4. You’ve Got to Give Your Back a Break
Every twenty-or-so minutes, pull your backpack off your shoulders and rest it on the ground.
Gently stretch by rolling your shoulders, then gently swing your arms around for about thirty seconds.
This may not seem like much after your first stop, but if it’s an hour inland to the campsite, you’re going to feel sore and stiff without breaks.
How to Pack it When Heading Home
This is the main problem with many guides found online, and we wanted to address it: they tell you how to get there, not how to get back.
You should be able to get home in a quick and orderly fashion and have as straightforward of a time hiking out as you did hiking in. If you followed your instructions properly and had your campsite essentials on top of the kit, these will be the last things that you put back in.
Grab your heavy gear and put it away first. If these are pots and pans, clean them immediately following breakfast so they can properly air dry. When it comes time to get your lightweight items together, it’s a wonderful idea to organize them in an orderly fashion on the floor of your tent.
If you’ve spent most of your camping life packing up by taking the tent down first, we’re about to rewire that idea. Pack heavy items first and organize lightweight items in the tent to restore order. Next, get yourself ready for the trip back.
We often spend too much time packing up the site and putting away items like our wallets or paperwork that we might need when leaving a national park area or dispersed camping location.
One tip we like to follow is to photograph your open backpack with your phone camera the minute you arrive, and then check to make sure you packed it properly by looking at that photo side-by-side with your departure packing.
If you’ve placed heavy and light items, as well as your tent or campsite essentials on top, the appearance should be uniform. The tent’s descent should serve as the final indication that you’ve finished and are prepared to return home.
Wrap-Up
External frames are superior to standard backpacks, especially models that remain erect when you place them down on the ground.
One of the difficulties with your external frame backpack is that it’s an investment, just like a quality sleeping bag.