Foragers tend to get bummed out when cold weather hits. We want to be full of holiday cheer, but frozen ground means mushroom season is officially over.
The good news is you don’t have to mope around until springtime, daydreaming about morels. Instead, learn how to pickle mushrooms as you harvest them and preserve them for your enjoyment during times of scarcity.
Sound interesting? Read on to get the skinny on my favorite pickled mushrooms recipe and discover all the tips and tricks to make these marinated shrooms just as decadent as fresh fungi.
Materials to Make Pickled Mushrooms
- Mushrooms: Starting with good-quality mushrooms is paramount. I forage large batches of seasonal shrooms and pickle them as I go, but you can also purchase fungi from the market.
- Knife: The knife is for chopping the shrooms and slicing the onion. A large, sharp knife will make things a lot easier.
- Pickling brine: You need a knockout brine to make this pickled mushrooms recipe work. Use my technique below!
- Lidded stove pot: You’ll cook down your mushrooms and brine in a stove pot. A wide-bottom pot works best to distribute heat and cook things evenly.
- Glass jars: You’ll store your finished pickles in glass jars. I prefer to distribute the pickles in many smaller jars rather than just a few larger ones because I can give them away as gifts. Plus, I won’t be tempted to eat an entire quart at once. If you plan to process them in a canner, use half-pint canning jars.
- Canner (optional): You can process these mushrooms in a water bath canner if you want them to last longer.
Making the Pickling Brine
You don’t just want to learn how to pickle mushrooms. You want to create a decadent, melt-in-your-mouth treat bursting with rich textures and fascinating flavors. I love the sweet tang of apple cider vinegar against a rich background of olive oil and thyme in this pickling brew. Paired with smooth bay leaf and peppercorns, it really does make the taste buds sing.
Please note this recipe is good for about two pounds of wild mushrooms. If you have more or less, adjust the ratios to fit what you’ve got.
- 1 ½ cups apple cider vinegar (at least 5% acidity)
- ½ cup olive oil
- ¼ cup water
- 1 tbsp salt
- 1 tbsp whole black peppercorns
- 1 tsp garlic powder
- 1 tbsp thyme
- 2 tbsp oregano
- 1 bay leaf per jar
- ½ cup yellow onion
Everyone is different. This pickled mushroom recipe is simply my favorite way to do it. Some prefer to add sugar or heat things up with spicier herbs. You can do these things, but if you want to can mushrooms for long-term storage, be careful. Don’t adjust the liquid ratios since doing so will change the acidity level in the brine.
If you really want to adjust the liquids or create your own brining recipe, it’s wise to pick up a pH meter and measure the acidity levels in your pickles. If you ensure the pH stays below 4.6, your custom recipe will be safe to can. Measuring pH accurately at home isn’t a quick or simple process, but it’s definitely possible.
Note that I have never tested the pH of this recipe. I have used it successfully, but many variables are at play here. The type of mushrooms you use, the size of your pieces, and your accuracy in measuring may all affect the pH of your final product.
If you are concerned, don’t process it in a canner. You can still enjoy the recipe as-is!
How to Pickle Mushrooms
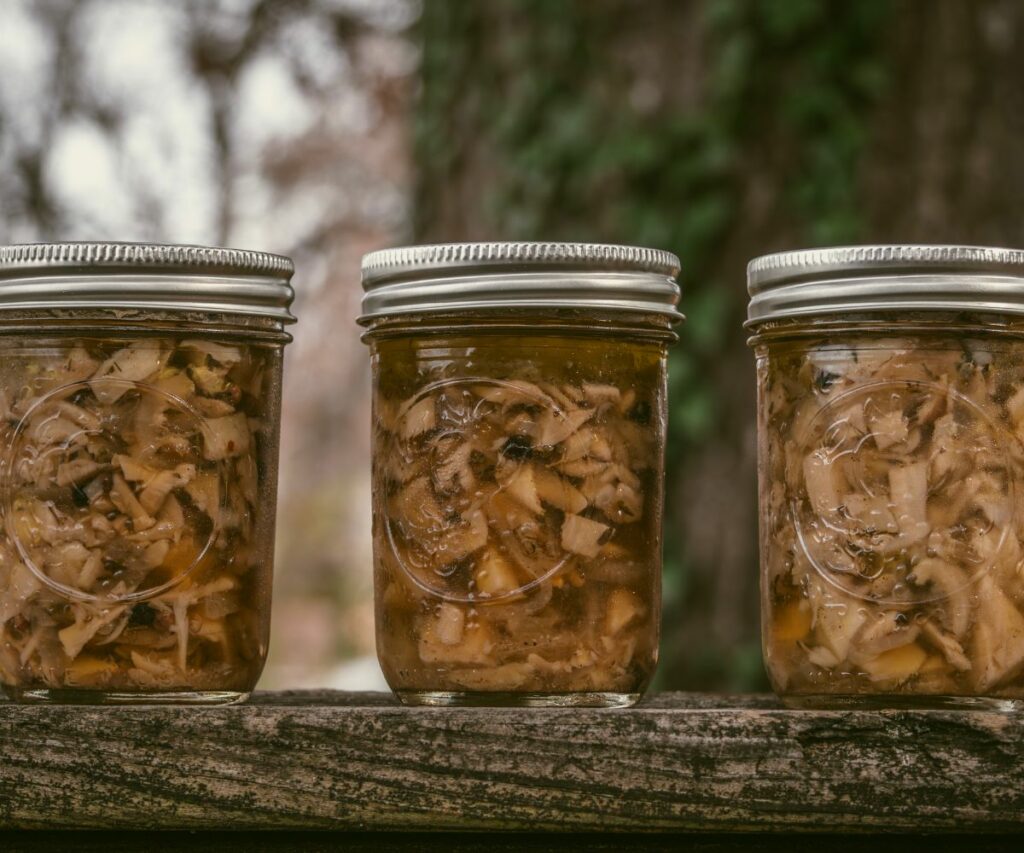
1. Source Your Shrooms Wisely
You can use my pickled mushroom recipe for nearly any type of wild mushroom, but some are better than others. From a practical standpoint, gargantuan polypores like chicken of the woods and maitake make more sense. Since these mushrooms can weigh upwards of 15 pounds, pickling them is a great way to use up excess.
Taste also comes into play. The firm yet mildly sweet flavor of chanterelles and the nutty, hearty crunch of lobster mushrooms really can’t be beat when paired with an oregano and onion marinade. However, the changing seasons dictate that we must be flexible in mushroom selection.
If you aren’t into foraging, you can use store-bought mushrooms. In that case, you aren’t limited by the season, but if you’re buying mushrooms in bulk, try to find supermarket deals so you can save money and eat well. Either way, ensure you source fresh, firm, and young fungi to minimize the chance of spoilage.
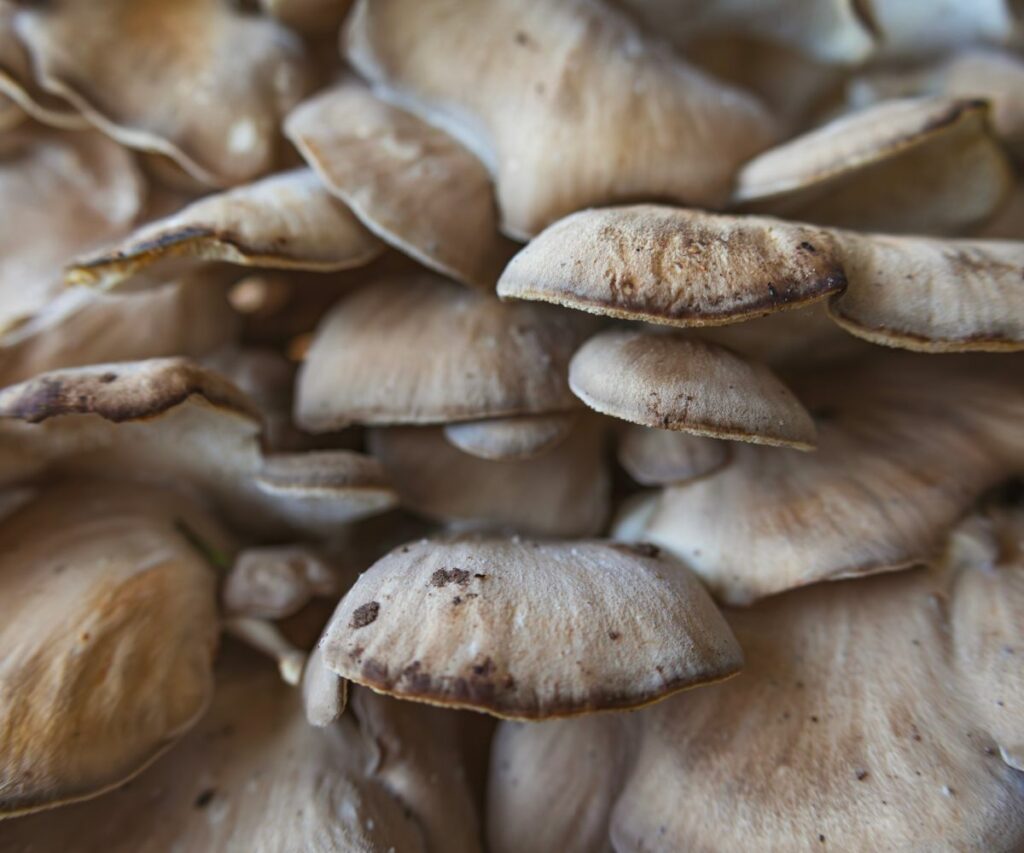
2. Clean and Chop Mushrooms
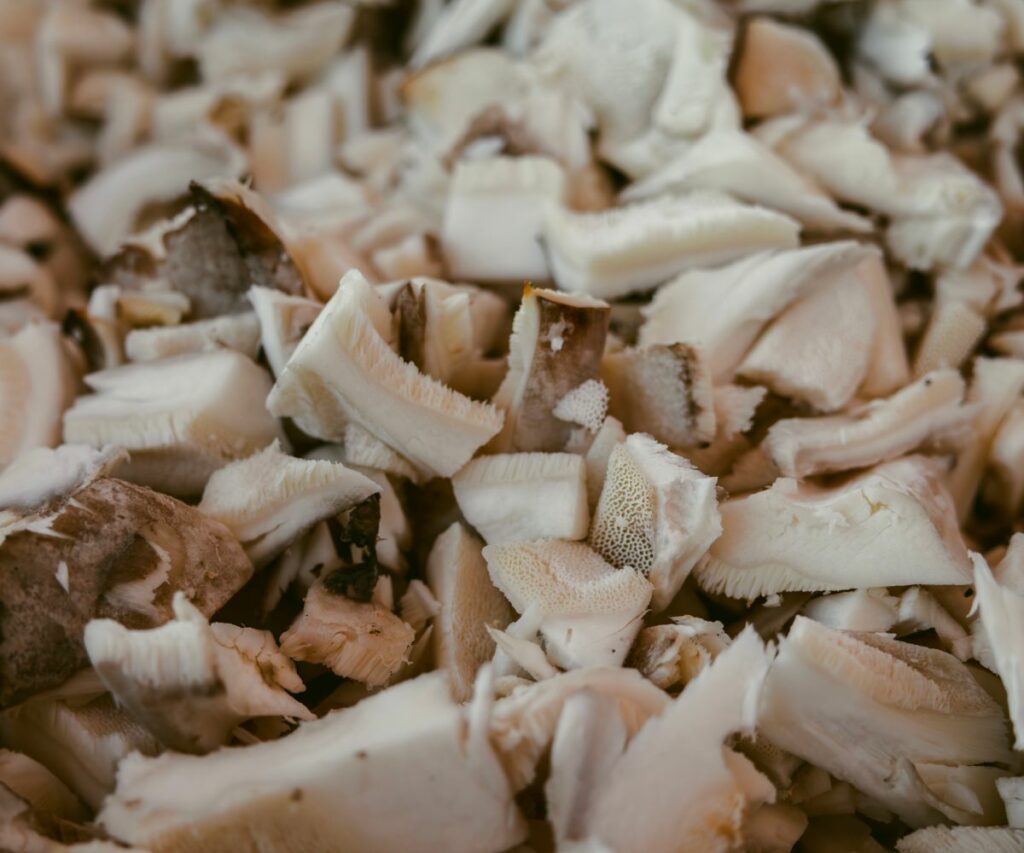
Break out your sharpest knife and chop those shrooms to bits. Smaller pieces are better for several reasons. First, it’s safer since the acidifying vinegar penetrates more easily into smaller pieces and minimizes the risk of contamination.
Second, it’s tastier. A finer chop allows the pickle brew to really marinate the shrooms, getting into all their crevices and making an exemplary infusion of flavor.
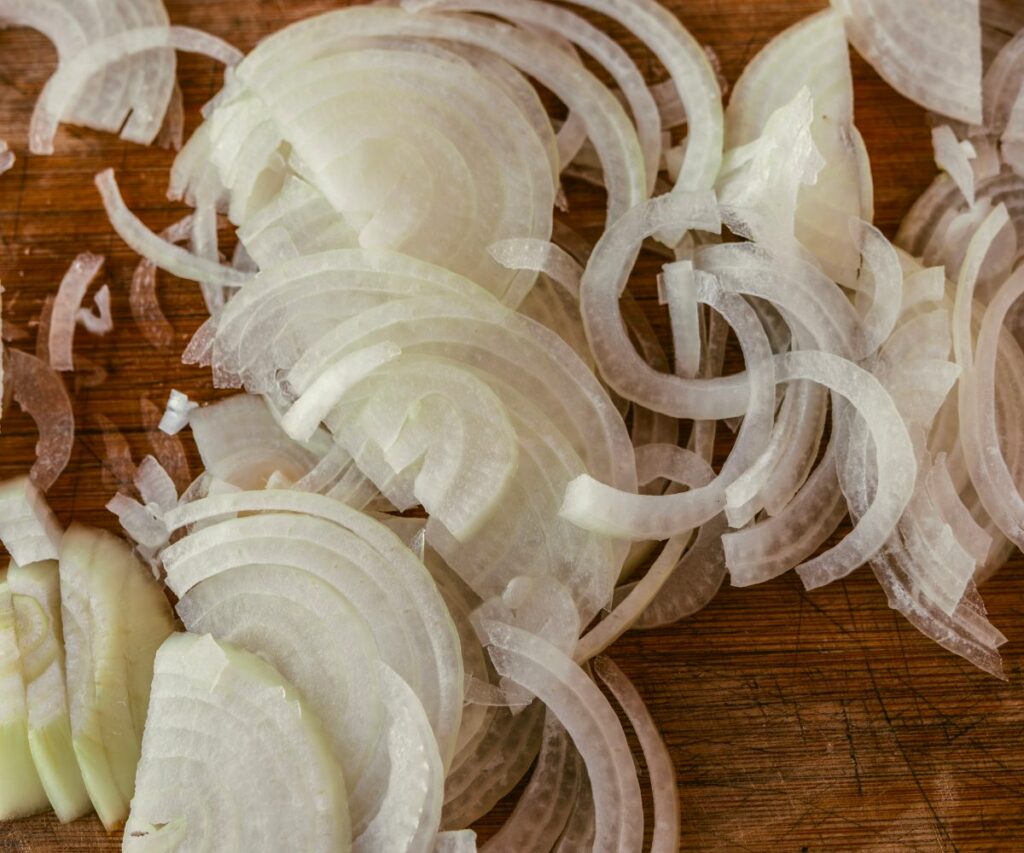
3. Slice Onion
Slice the onion into long, skinny strips to add shape and texture variation. You can also dice it into little bits to create more of a duxelles experience. You can even omit it entirely if you don’t like onions. It’s up to you!
4. Heat Oil and Saute Onion
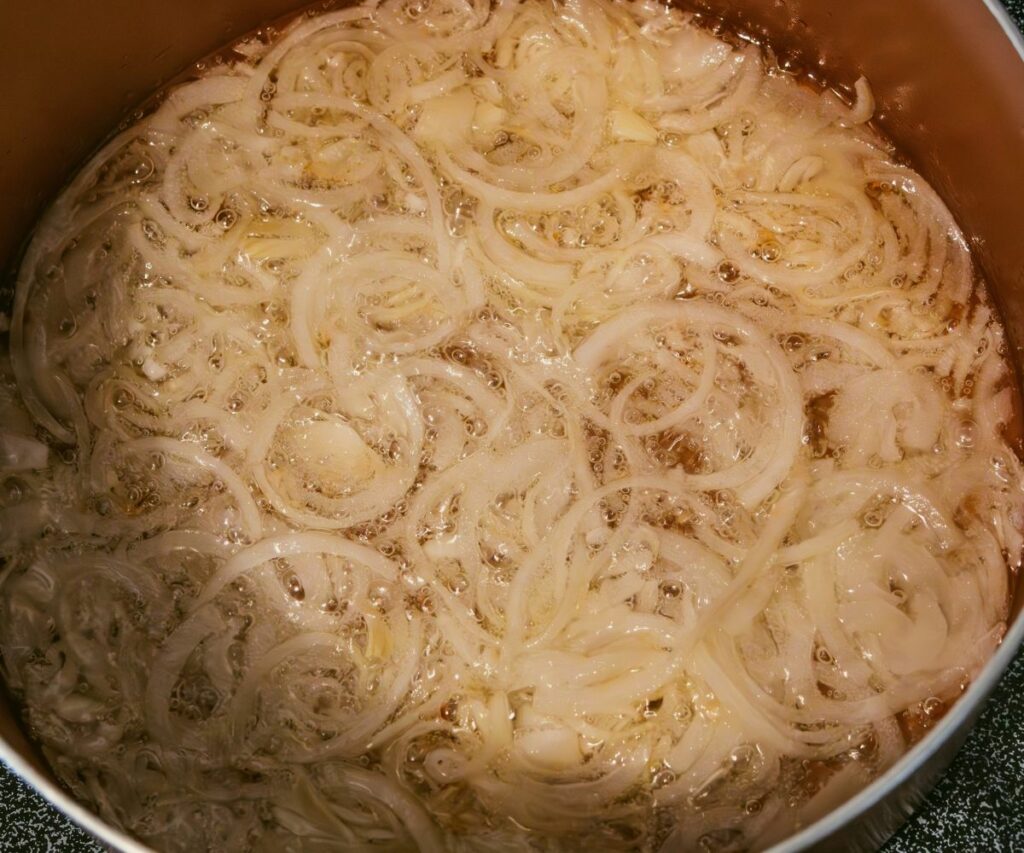
Did you go for the onion? Good for you! It’s wise to cook it down before you add your shrooms. Sauteing the onion mutes its pungency, imparting a rich taste and buttery texture to this pickled mushroom recipe.
Add your oil to the pot and turn the heat to a low setting. Do not fry on high. You don’t want to caramelize the onions or brown them. You just want to soften them up. Some bubbling is okay, but if they smoke or steam, it’s too much heat. Cook the onions until they are translucent, about 10 minutes.
5. Cook Mushrooms
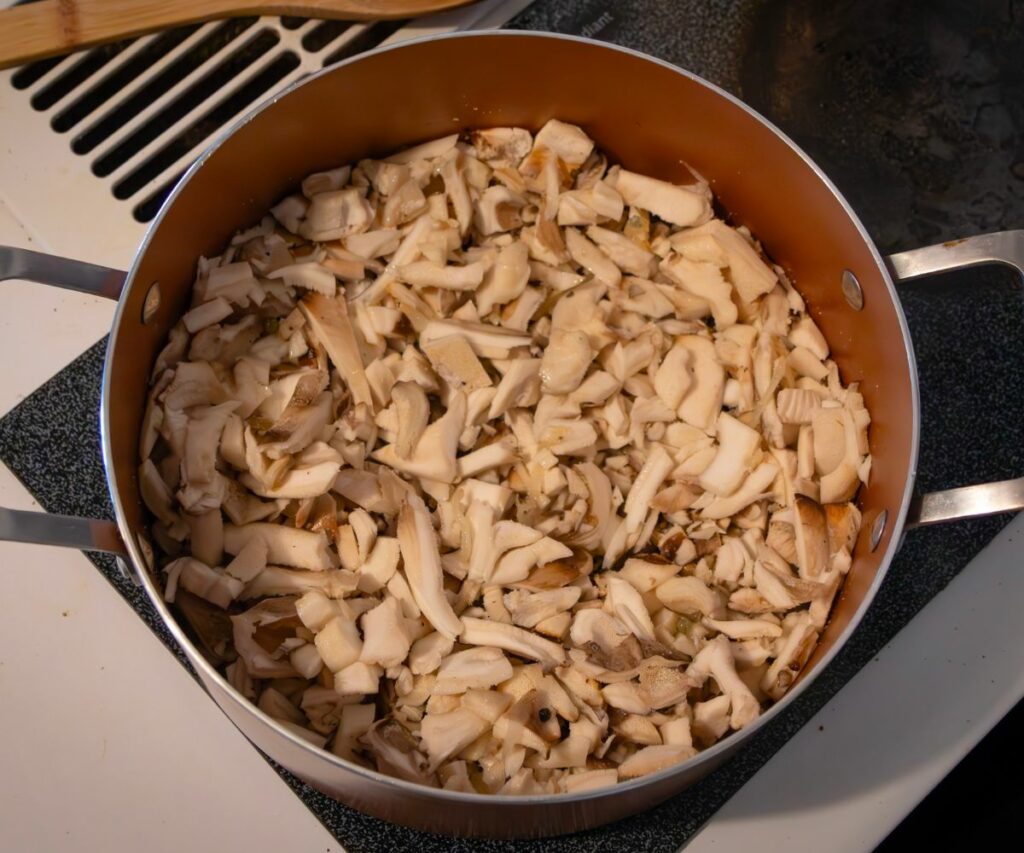
Once your onion is translucent and smells nice, add your chopped mushrooms to the mix. Turn the heat up to medium and cover the pot.
Shrooms are full of water. They give off a ton of liquid while cooking, and that’s a good thing! You want that flavor, and covering the pot prevents it from evaporating out.
6. Add Liquid and Spice
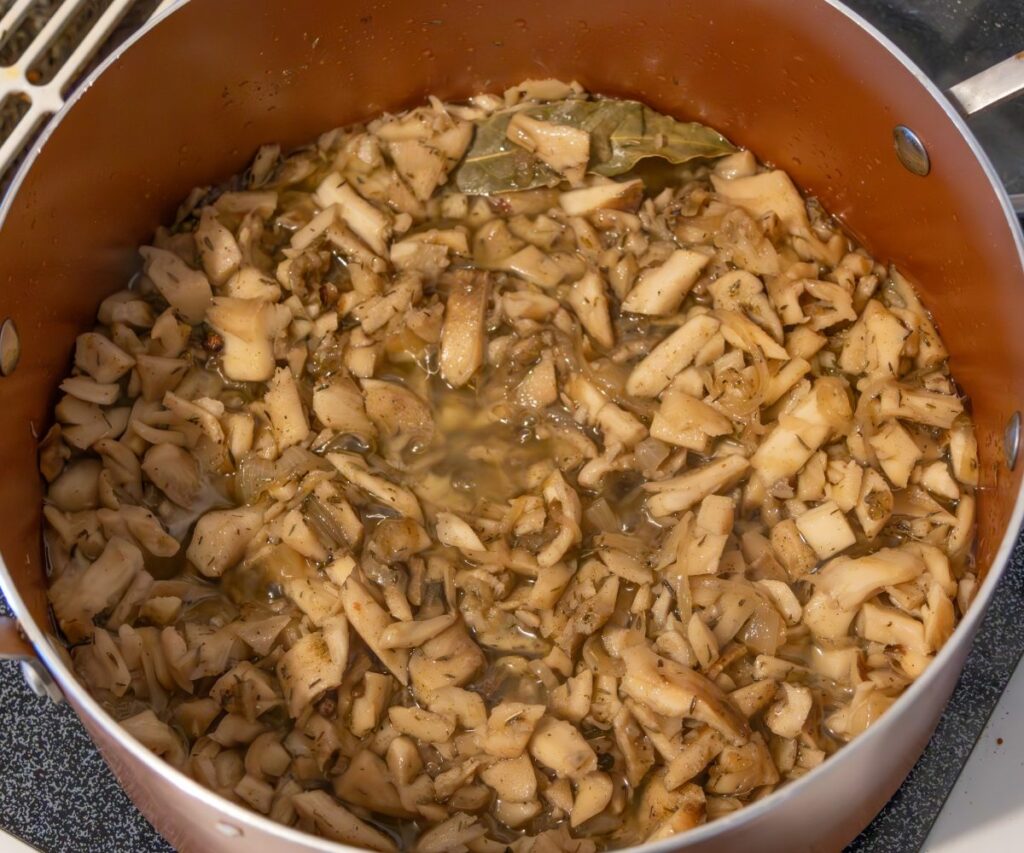
Wait until the mushrooms have shrunk significantly, and add the vinegar, water, and spices to the pot. I like to add a bay leaf here, too.
Now it’s time to put the heat on high. Leave the lid on, and bring the liquid to a rolling boil for two to three minutes to ensure everything is cooked properly.
7. Ready the Jars
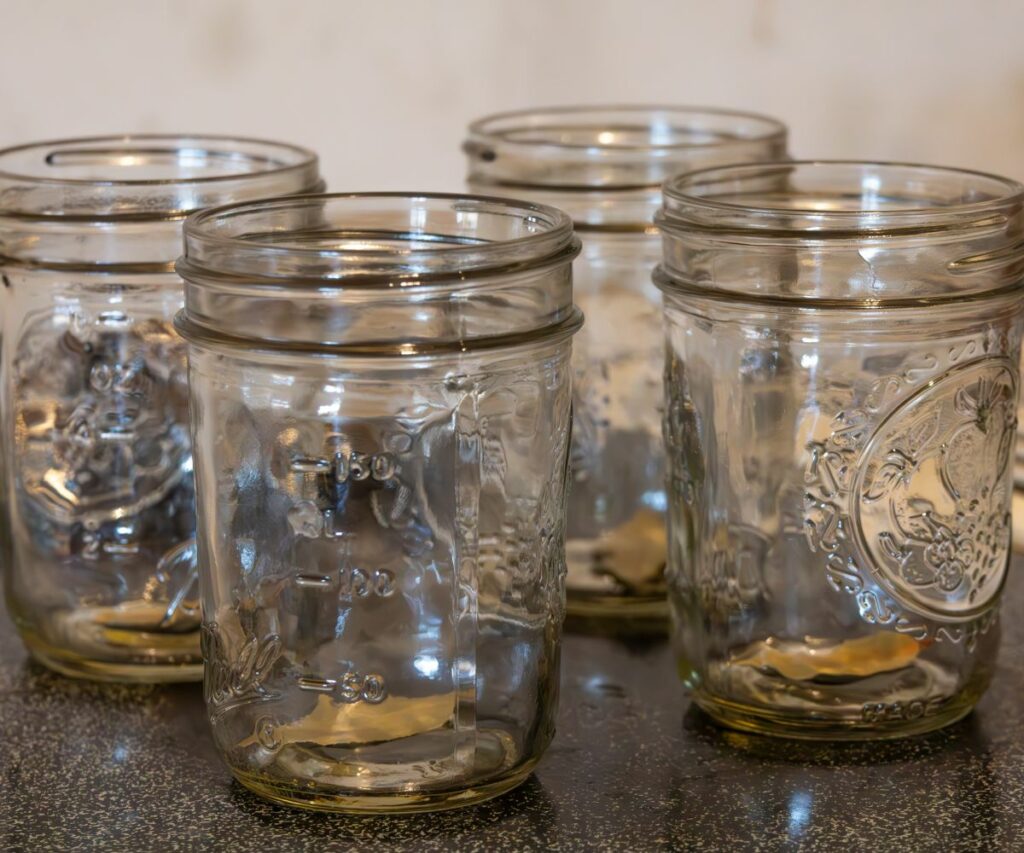
As your liquid is boiling, arrange the jars beside your pot with lids off. Place a single bay leaf on the bottom of each jar. You can also place a few peppercorns here for an extra spicy pickle. By this time, your mushrooms should be ready to go.
8. Jar the Mushrooms
Turn off the heat and use a slotted spoon to transfer the mushroom mix to the jars. Do not transfer the liquid yet. Pack the mushrooms down into the jars, leaving about an inch of headspace at the top of the mix to ensure you can cover it entirely with liquid.
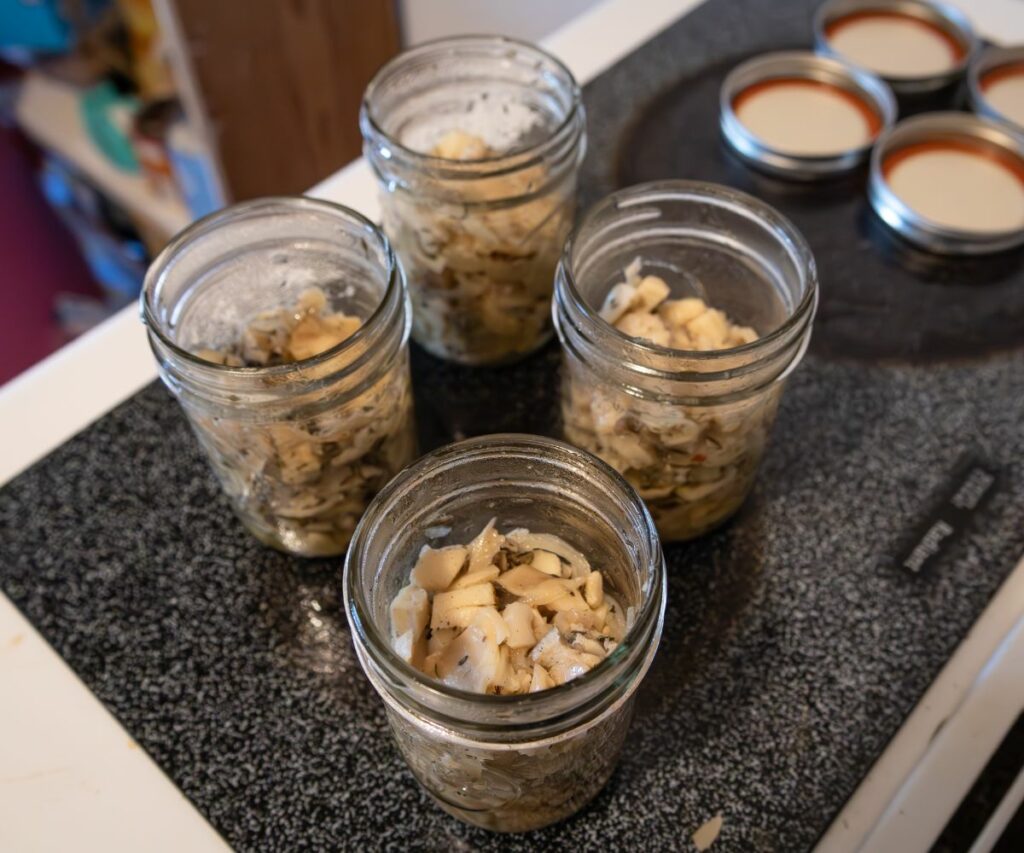
9. Jar the Liquid
Bring the pickling brew back to a rolling boil for five minutes. Then, pour it very carefully into each jar. Make sure to cover the mushroom pickles thoroughly, leaving half an inch of headspace if you plan on canning them. Use a fork to poke out any air bubbles and add more liquid if necessary.
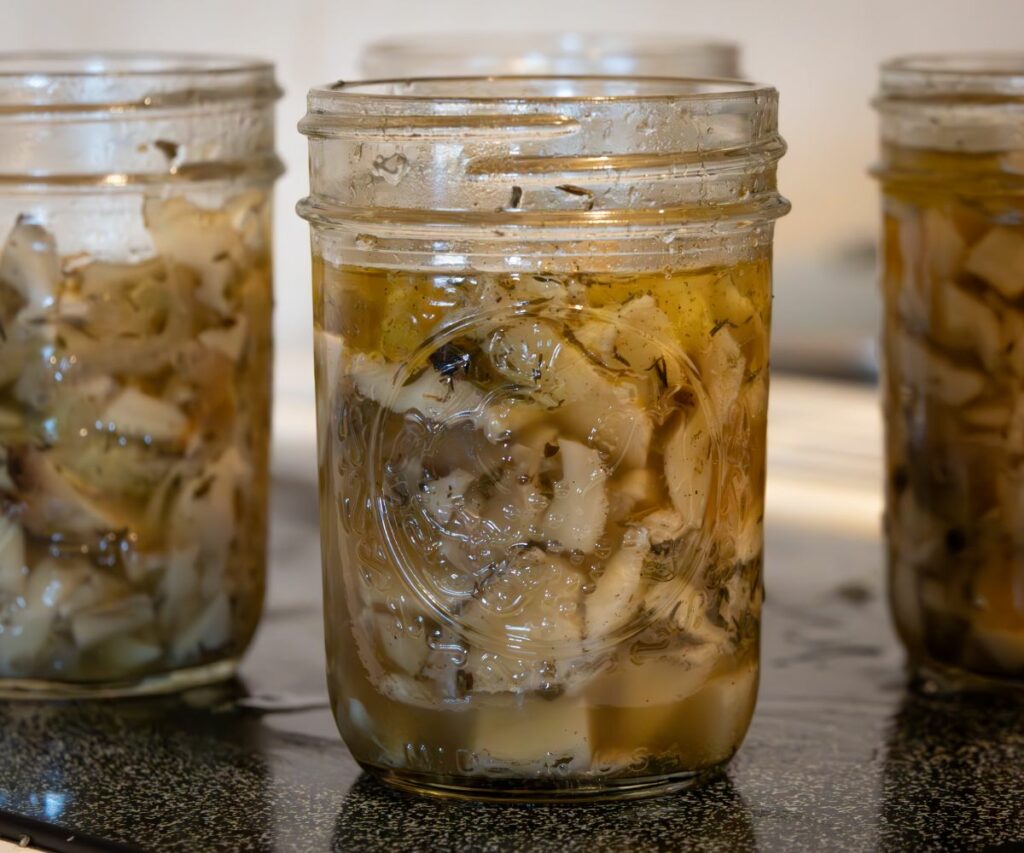
10. Top Jars
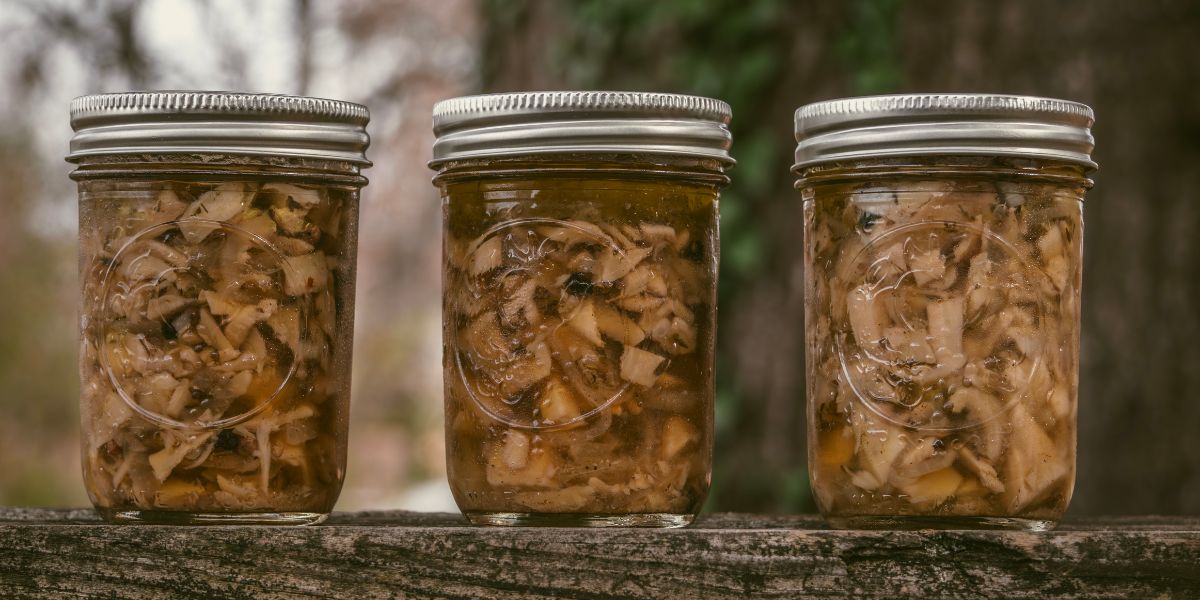
Top the jars and screw the lids on. If you will not be canning them, you’re done! This pickled mushrooms recipe should last at least six weeks in the refrigerator since its high acidity discourages bacterial growth.
Allow the mushrooms to sit for at least a few days before eating. The flavors need time to blend and develop, so the mushrooms taste entirely different from day one to day five. It’s always a struggle not to open the jars and do a little covert taste testing. Hide them in the back of the fridge or root cellar so you’re not tempted.
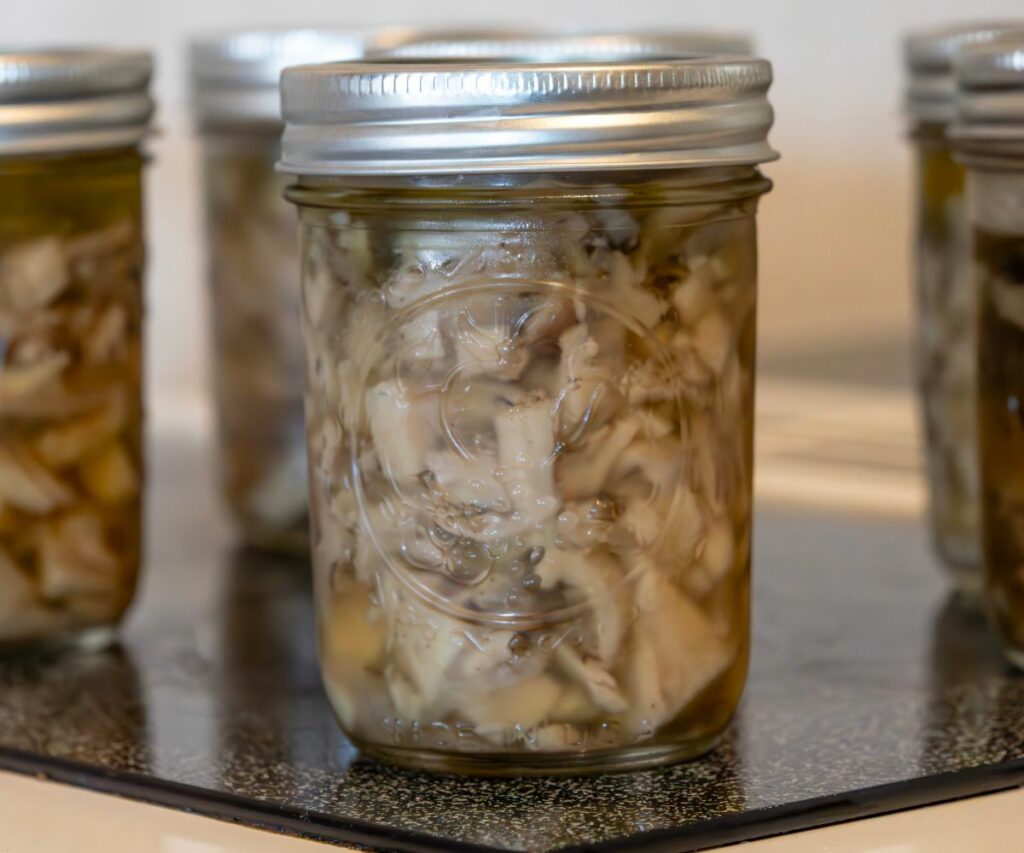
11. Water Bath Can
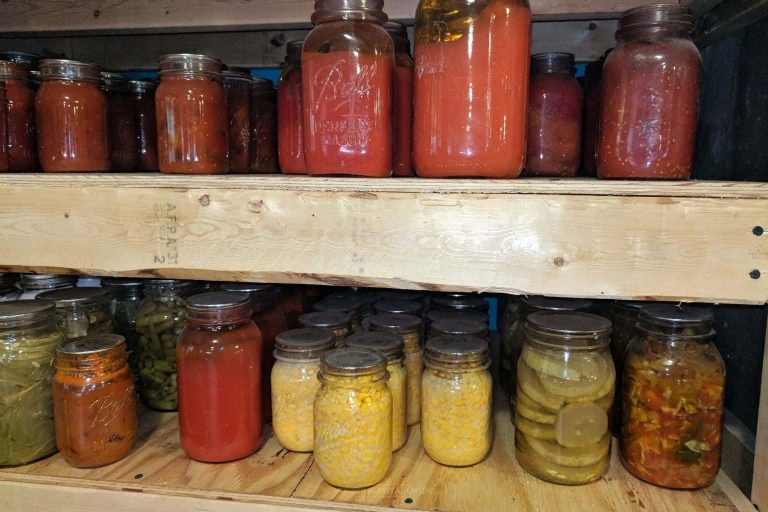
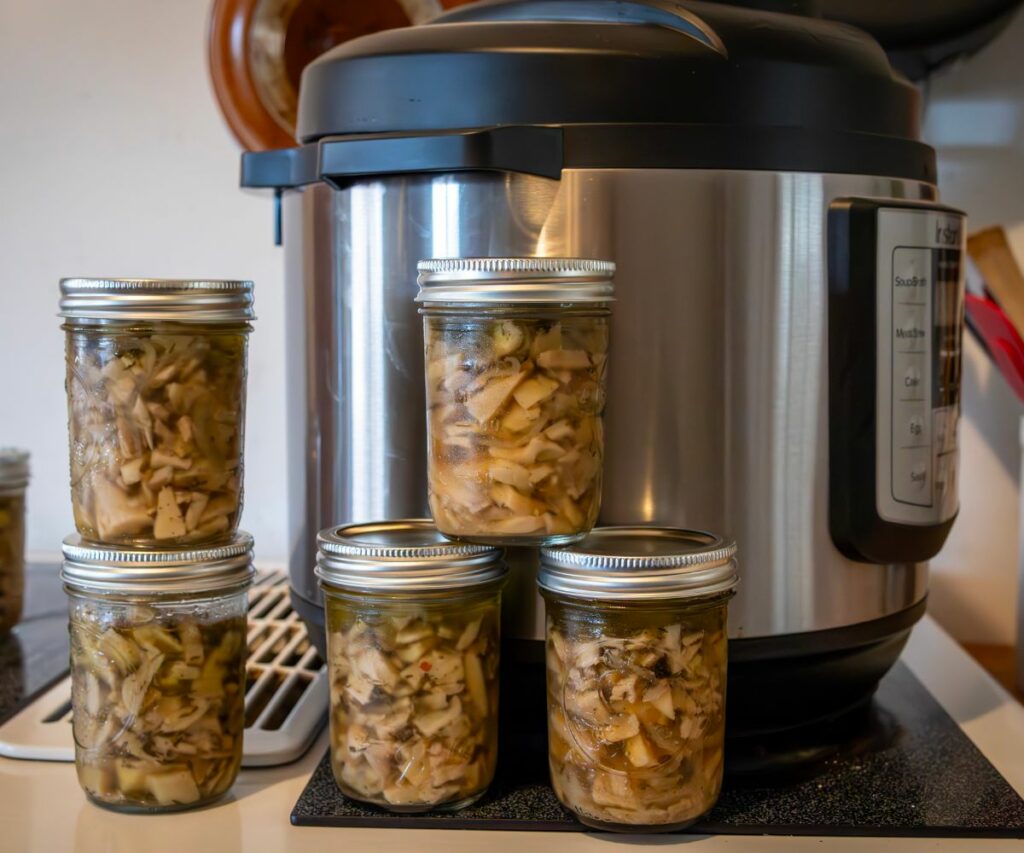
Want to store mushroom pickles long term? You can process them in a water bath canner for 20 minutes at 1,000 feet or less. Adjust the time upwards depending on your altitude. Follow best practices for water bath canning in your region to stay safe and enjoy botulism-free shrooms.
Pickled Mushrooms FAQ
How long do pickled mushrooms last?
Pickled mushrooms will last 6–12 weeks in the refrigerator. Once they’re canned, they will last three to five years. Always check canned food for signs of botulism and other bacterial growth before you eat it.
Is it safe to water bath can pickled mushrooms?
Yes. While mushrooms are a low-acid food that must be pressure-canned when fresh, pickling them in vinegar acidifies them enough for safe water bath canning.
Can I use a pressure canner to can pickled mushrooms?
Yes. However, the high temperature in a pressure canner could destroy the quality of the finished product, and you might wind up with a jar of nasty mush.
This pickled mushrooms recipe is an excellent way to maximize your foraged food yield and reduce waste on the homestead. Now that you know how to pickle mushrooms, you can easily tackle huge harvests and eat well during the cold winter months.


